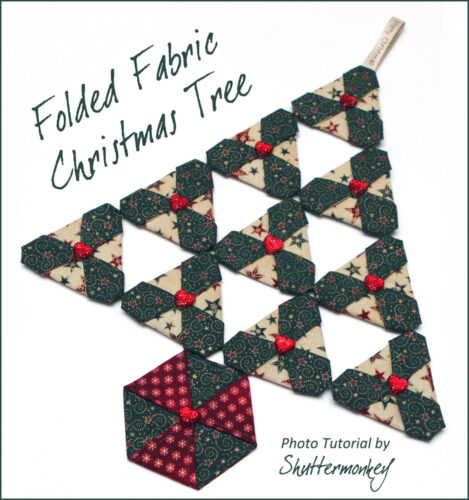
This Folded Fabric Christmas Tree is made using fabric triangles. The triangles are first sewn together on a sewing machine, and then folded and hand stitched into place. Finally, the folded triangles are hand stitched to one another and a ribbon added, for hanging the tree.
Adding Christmas decorations is optional, but it does add a beautiful touch of sparkle to your finished Christmas tree.
I have used Christmas themed fabrics in this photo tutorial to show you how to sew your pieces of fabric together to make your Christmas Tree. There are plenty of details on this tutorial to help you make your tree, but you can also download a free Folded Fabric Christmas Tree Pattern if you would like to have a printed copy to keep. The pattern is seven pages long and contains all the colour images that are shown in this tutorial. There are no extra details in this pattern.
Let’s get started on this QAL (although technically there is no quilting in this -along)!
Materials Required
- Green fabric – 6” high by width of fabric
- Cream Fabric – 6” high by width of fabric
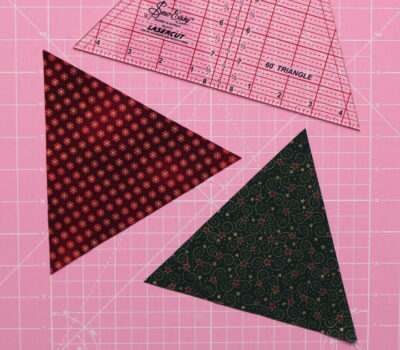
- Red Fabric – 7” x 6” piece of red fabric (for tree base)
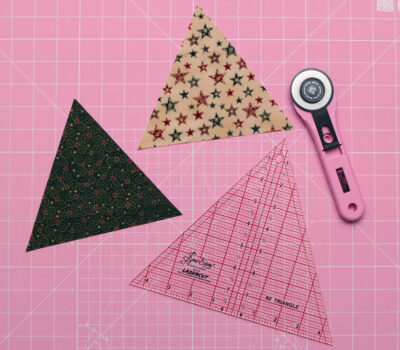
- Cutting mat, cutting ruler and rotary cutter
- 60° triangle ruler at least 6” in size
- Thread
- Scissors
- Pins
- A large wooden knitting needle or something similar to poke out your corners
- Sewing machine and a hand-sewing needle
- Iron and ironing board
- One piece of A4 paper
- Pencil and marker pen
- Christmas trimmings to decorate your tree (optional)
- 6”/15cm ribbon to hang your tree
Abbreviations
- RS – right sides together
- All seams are to be sewn at ¼” (unless otherwise stated)
Making Fabric Triangles
- From both the green and cream pieces of fabric, cut a 6” strip along the width of each fabric.
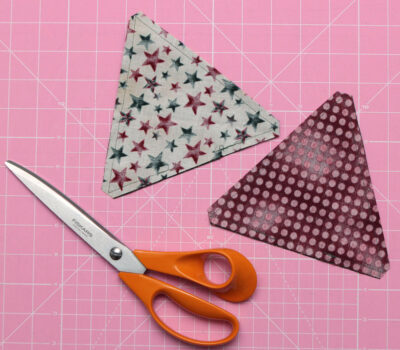
- Using the 60° triangle ruler, cut ten 6” triangles from the cream fabric and cut eleven 6” triangles from the green fabric. The triangles should measure 7” along each side. You will need ten cream triangles and ten green triangles to make the Christmas tree, and one green triangle for the base of the tree.
- From the 7” x 6” piece of red fabric, cut one 6” triangle again using the 60° triangle ruler. This will be used with the extra green triangle to make the base for the tree.
- With RS together, pin one green and one cream triangle together and sew around all edges leaving a 2” gap on one side so that you can turn the fabric through to the RS after sewing. Reverse stitch at the beginning and end to secure your stitches.
Repeat this stage with your other nine cream triangles and nine of the green triangles and then with the remaining green triangle and the red triangle cut for the base.

- Snip off the corners of your triangles to reduce bulk in the points once your triangles are turned through to the RS.
- Turn all triangles to the RS, carefully poking out all your corners using a large wooden knitting needle or something similar.
Press all eleven triangles flat and pin the gap closed. - Sew all around each triangle using a 1/8 th inch seam. This will close the gap left open for turning.
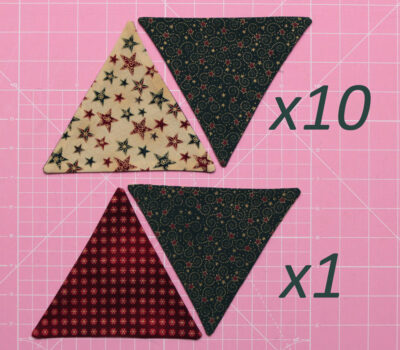
You will now have 10 triangles for the Christmas tree (green and cream) and one triangle for the base (red and green).
Photo shows back and front of triangles!
Making a Paper Triangle Template for marking the Centre Point
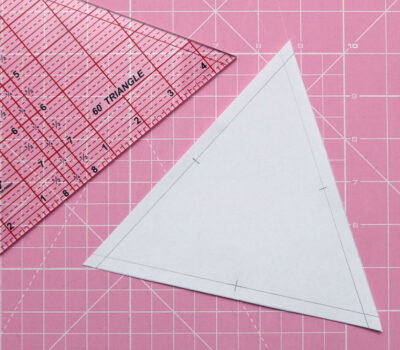
- With your piece of A4 paper, make a 6” triangle using the 60° triangle ruler.
Cut this triangle out, then mark new lines ¼” in from each side and mark the centre point on each of these new lines too.
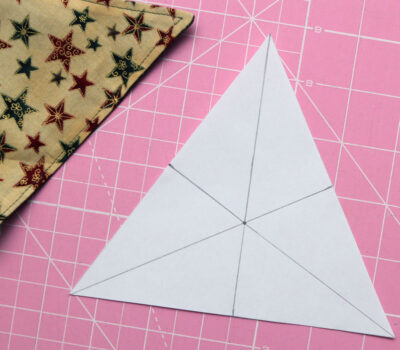
- Cut along these new lines marked at ¼” inside your triangle. Now draw lines from each point of the triangle to the centre mark directly opposite it. Once all three lines have been drawn (one from each point), you will have an exact centre point of your
triangle. Use this paper template to mark the centre point on the cream or red side of all eleven fabric triangles.
Folding Fabric Triangles
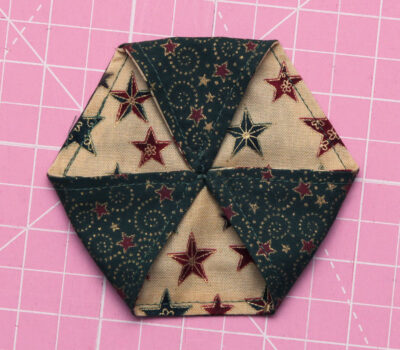
- Take one of your triangles for the Christmas tree (one side green, one side cream), and with cream side up, fold one of the triangle points into the centre mark, and hand stitch in place.
Repeat for the other two points.
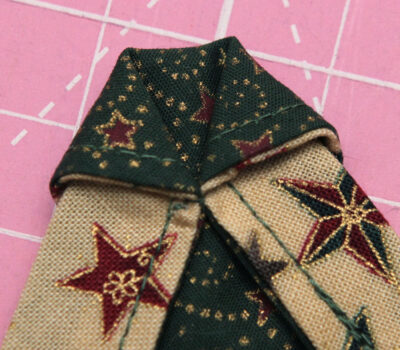
- Turn this piece upside down, so that the green side is now showing, fold your cream edges over by approx. ½”, and hand stitch together where the edges meet. Repeat for the other two corners.
- Repeat steps 10 & 11 for the other nine Christmas tree triangles.
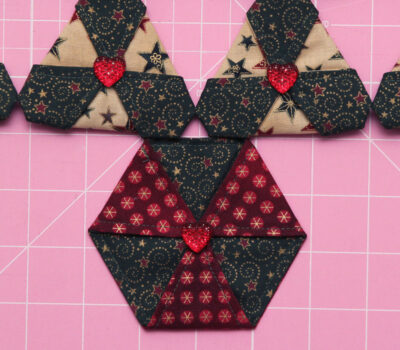
- Repeat Step 10 only for the red and green triangle. This will make a hexagon shape and will be used as the base of the tree.
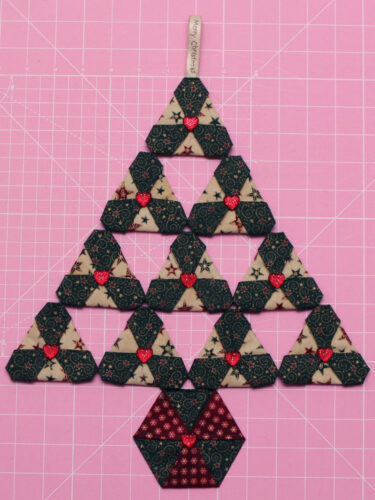
Put Together Your Christmas Tree
- Lay out all ten triangles for your Christmas tree as follows:
– four folded triangles on the bottom row
– three folded triangles on the 2nd row
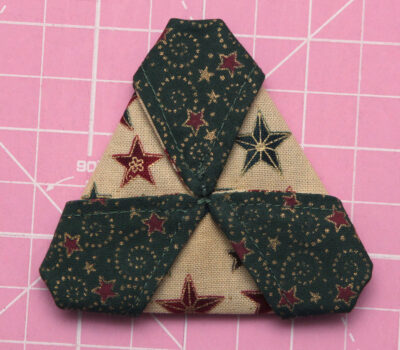
– two folded triangles on the 3rd row
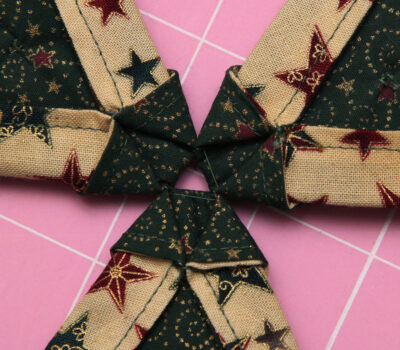
– one folded triangle on the top row. - Sew all these rows together by hand stitching each edge where it meets.
- Stitch the base onto the bottom of the tree.
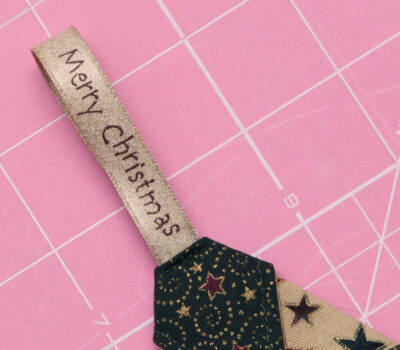
17. Stitch a piece of ribbon onto the top
Decorate Your Christmas Tree
Decorate your tree with your choice of trimmings.
Your Christmas tree is now finished and ready to hang.