The Fabric Requirements for both the quilt and cushion can be downloaded for free from my Payhip Store.
I have put together this photo tutorial (using halloween themed fabrics) to show you how to make this quilt/cushion. There are plenty of details on this tutorial to help you make your quilt/cushion, but you can also download a Rail Fence Quilt & Cushion Pattern if you would like to have a printed copy to keep. The pattern does not contain colour images so it won’t use a lot of printer ink. You can colour in the images on the pattern if this would help you to plan your quilt. The last three pages of this pattern contain three different layouts for you to colour in so you can experiment with the layout of your blocks before sewing them together.
Let’s get started on this QAL!
Abbreviations
- FQ – Fat Quarter
- RS/WS – Right Side/Wrong Side
- WOF – Width of Fabric
- All seams are sewn at ¼” unless otherwise stated
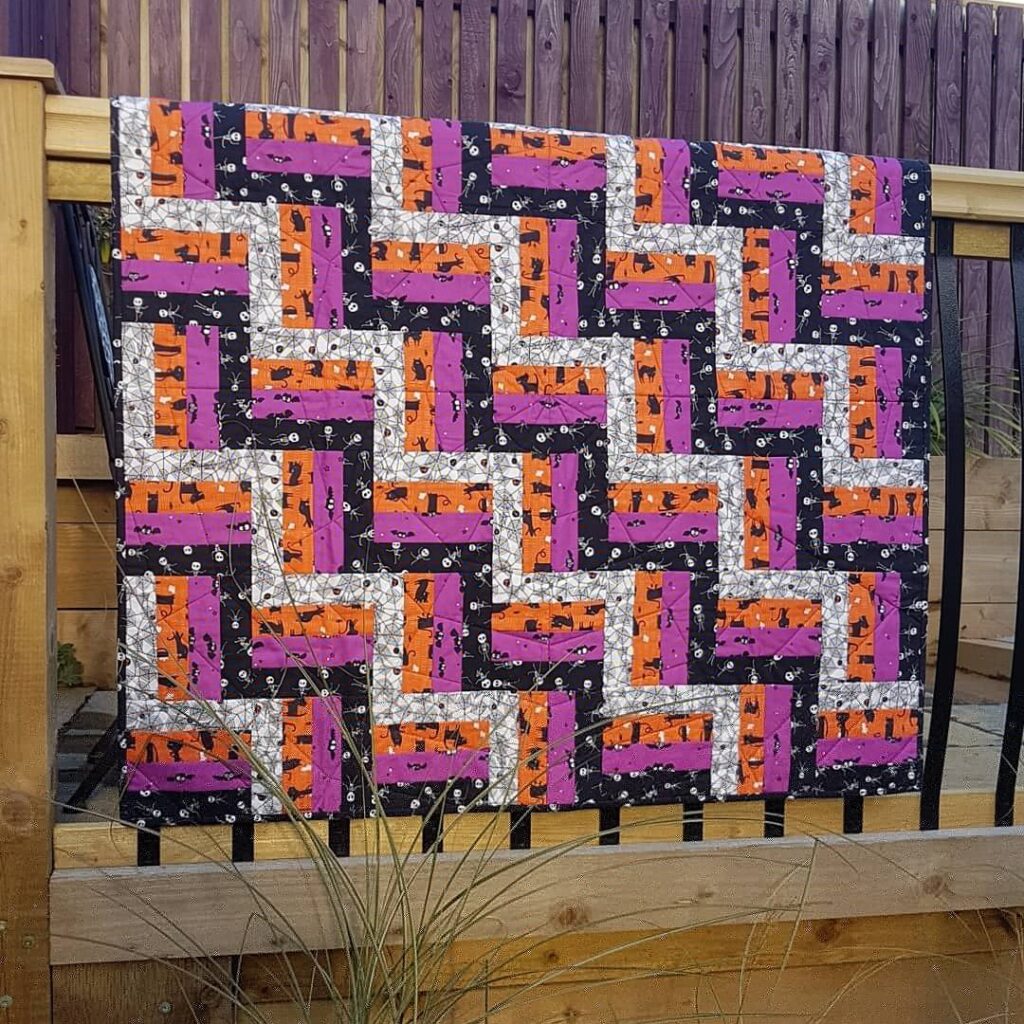
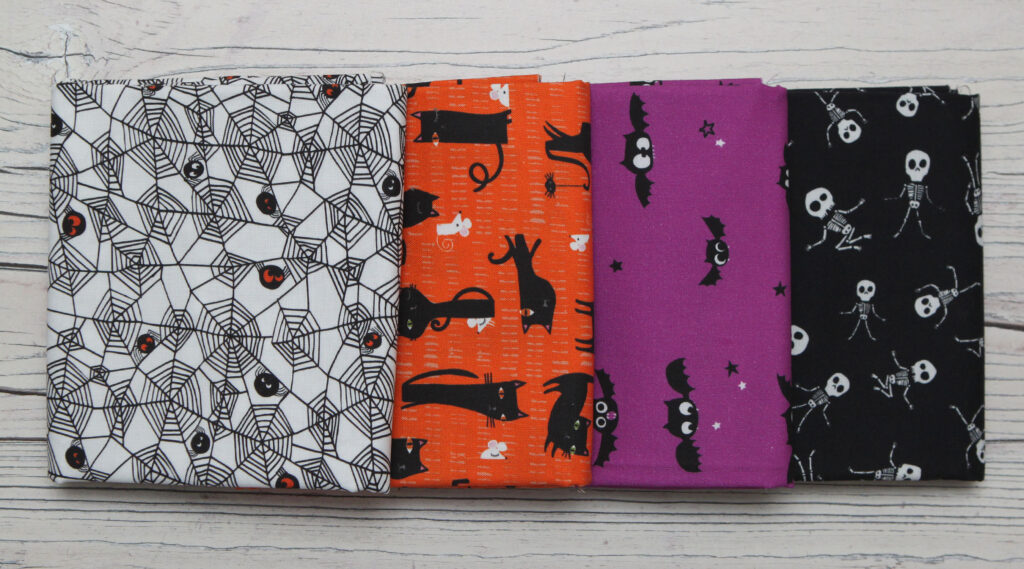
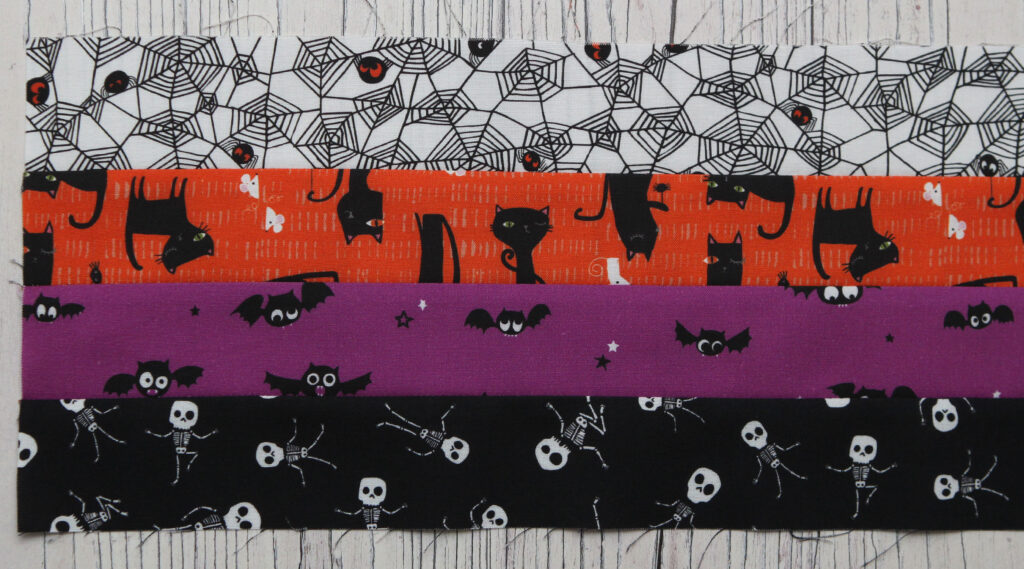
For this photo tutorial, I will be using halloween themed fabrics – these fabrics are part of the Spooktakular range by Dashwood Studio Fabrics.
For my backing fabric, I will be using this green fabric – Spooky Delight by Bunny Hill Designs. I haven’t decided on a fabric to use for my binding just yet.
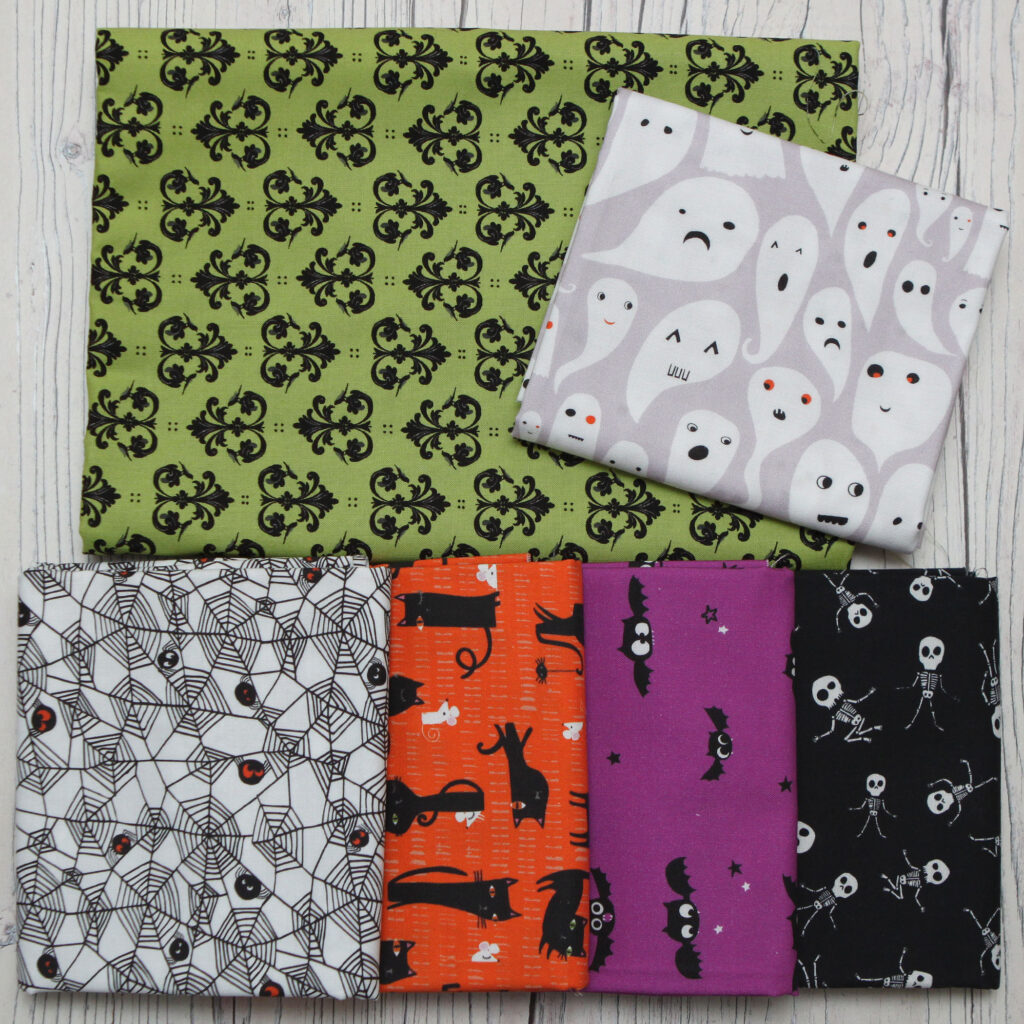
I might use the ghost fabric (again by Dashwood Studio Fabrics), but ususally I prefer my binding to be a darker shade. That’s a personal preference and there is absolutely nothing wrong with you using a light coloured fabric for your binding.
Cutting Instructions for Rail Fence Strips
Press your four 0.5m pieces of fabric for Quilt Top. You should always press your fabrics before cutting them. From each of these four pieces of fabric cut:
- 9 strips @ 2” x WOF
To cut my 2″ strips, I place my folded piece of 0.5m fabric on my cutting board:
- I place the folded edge along the 1″ vertical line – don’t move your fabric until you have finished cutting all your strips and removed the selvage edge!
- Using my quilting ruler and rotary cutter, I cut along the 2″ horizontal line
- Next, cut along the 4″, 6″, 8″, 10″, 12″, 14″, 16″, 18″ and then the 0″ horizontal lines
- Finally I trim off my selvage edge – I cut through the 22″ vertical line to remove my selvage, but you may have a bit more fabric depending on the width of your fabric
- I have nine 2″ x WOF strips from this fabric
Here’s a close up of the bottom corner of my cutting board so you can see that I have cut through each of the 2″ horizontal lines on my cutting board:
I repeat this with my other three pieces of half metre fabric for my Quilt Top until I have four bundles of 2″ strips (each bundle has nine strips):
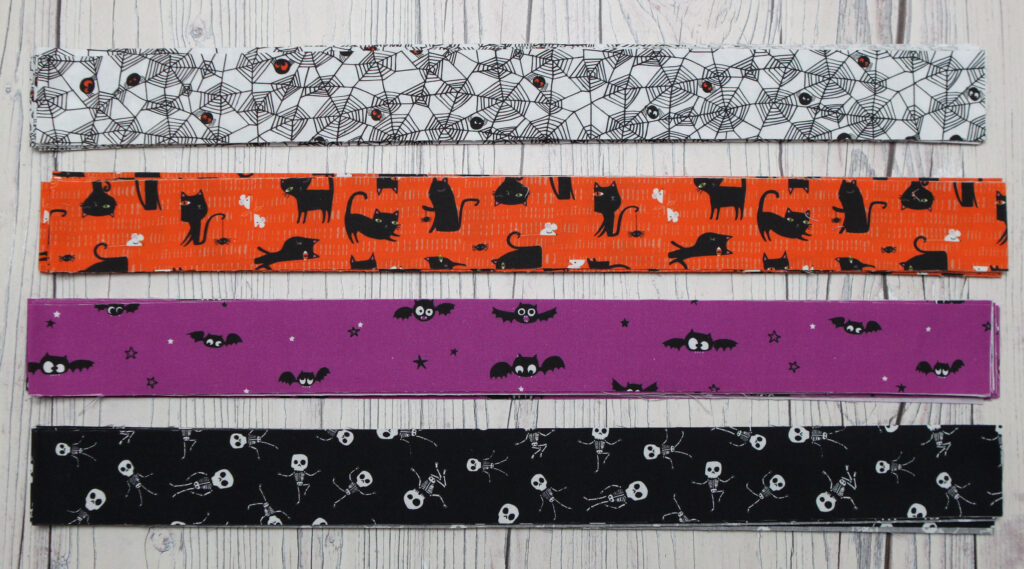
You may wish to pin labels to your strips at this point. The lightest colour will be No. 1 and the darkest will be No. 4.
Cushion – if you are making the cushion rather than the quilt, you will cut:
- 5 strips @ 1.25” x 21” from each of your four FQs
- You may wish to pin labels to your strips at this point. The lightest colour will be No. 1 and the darkest will be No. 4
Joining the Rail Fence Strips
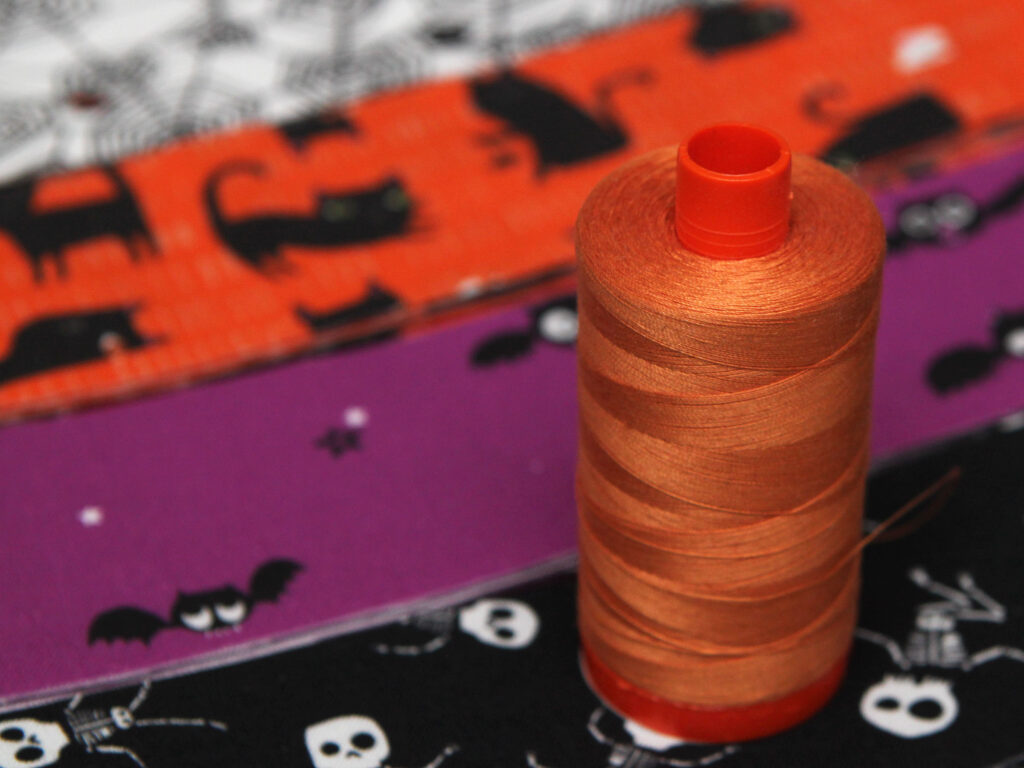
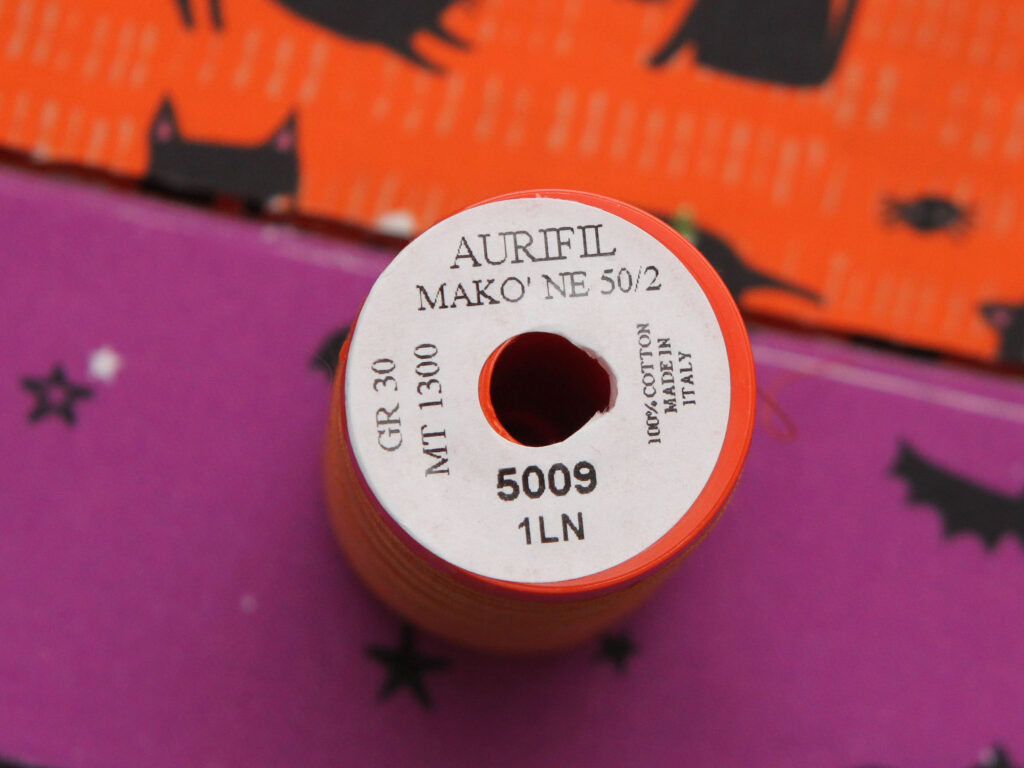
We are now ready to start sewing our strips together. I will be using an Aurifil Cotton thread in shade no. 5009. This is an orange shade that I think suits my halloween theme:
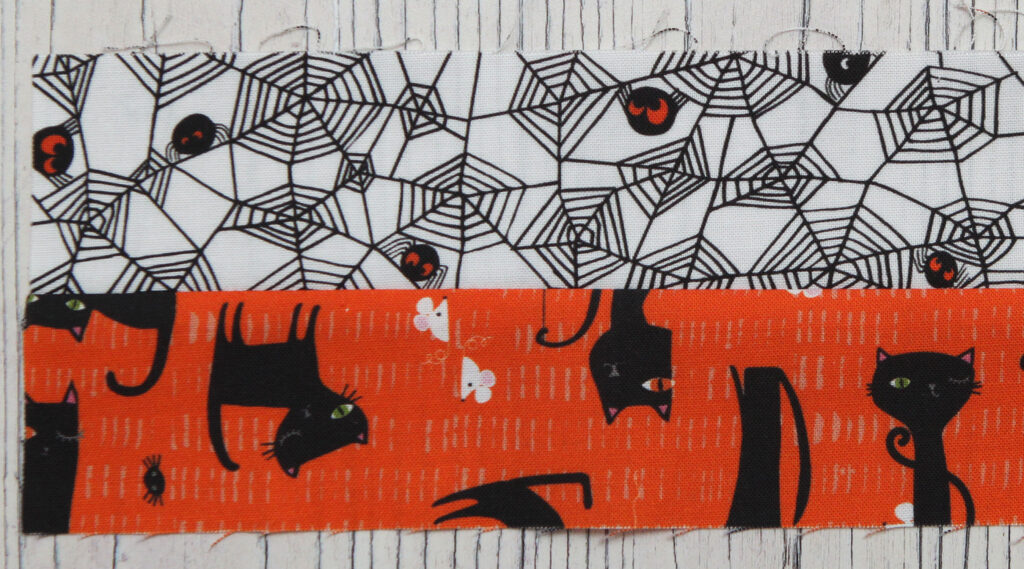
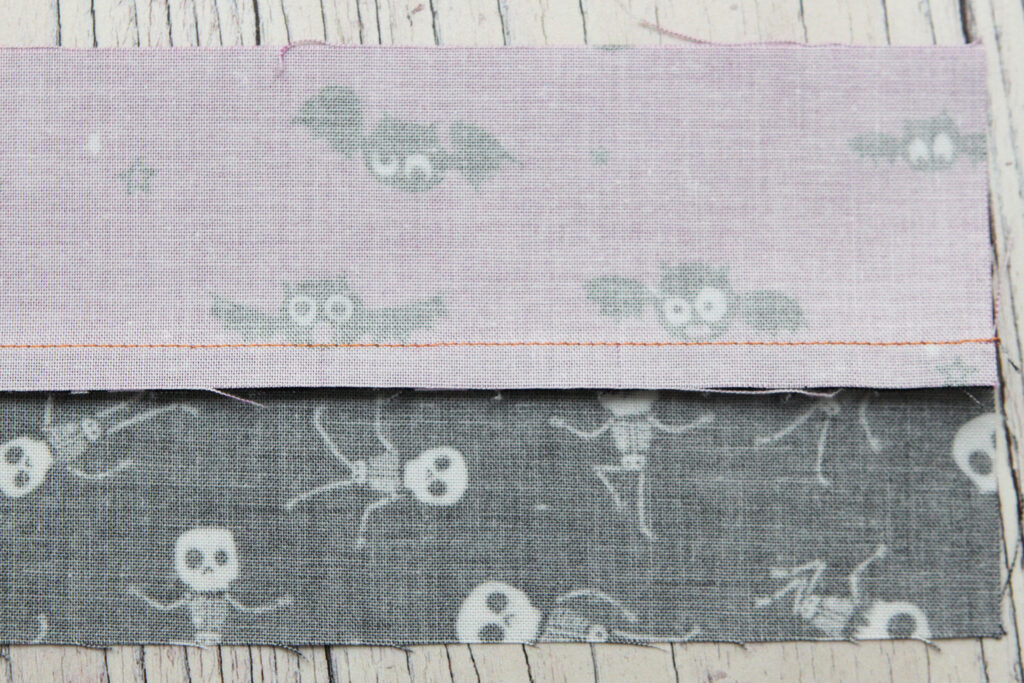
With RS together, sew a No. 1 strip to a No. 2 strip along the long side of the fabric. Press your seams towards the dark side. I pressed my seams towards the orange fabric as this is my darker shade:

Repeat this step with all your other No. 1 and No. 2 strips so that you have nine pieces for your quilt (or five pieces for your cushion) that look like this:
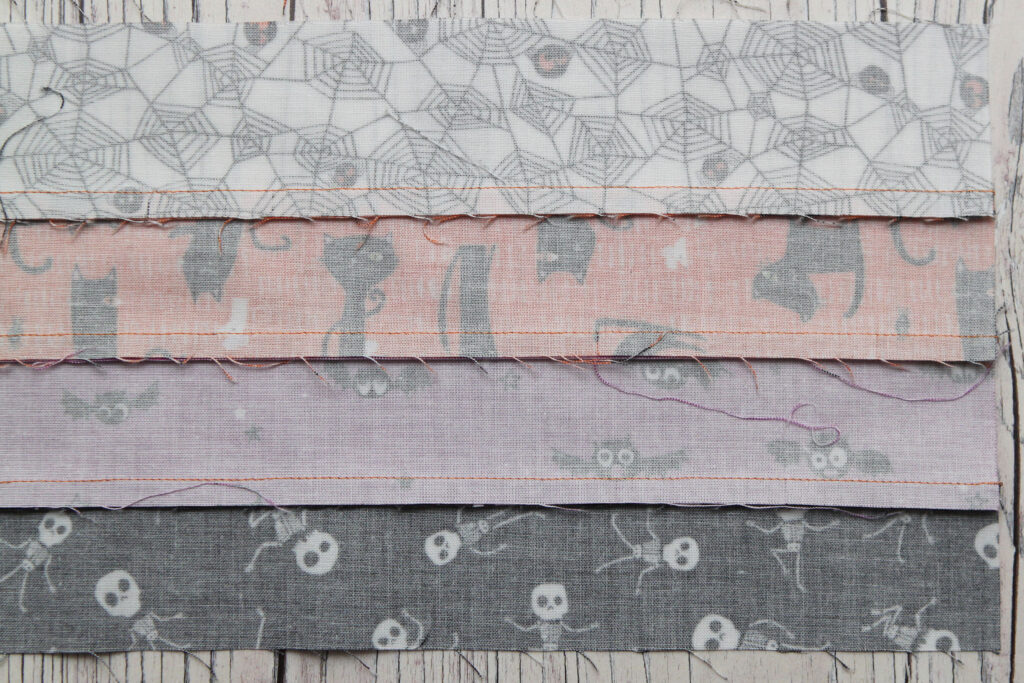
With RS together, sew a No. 3 strip to a No. 4 strip along the long side of the fabric. Again, press your seams towards the dark side. This time, I pressed my seams towards the black fabric as this is my darker shade:
Repeat this step with all your other No. 3 and No. 4 strips so that you have nine pieces for your quilt (or five pieces for your cushion) that look like this:
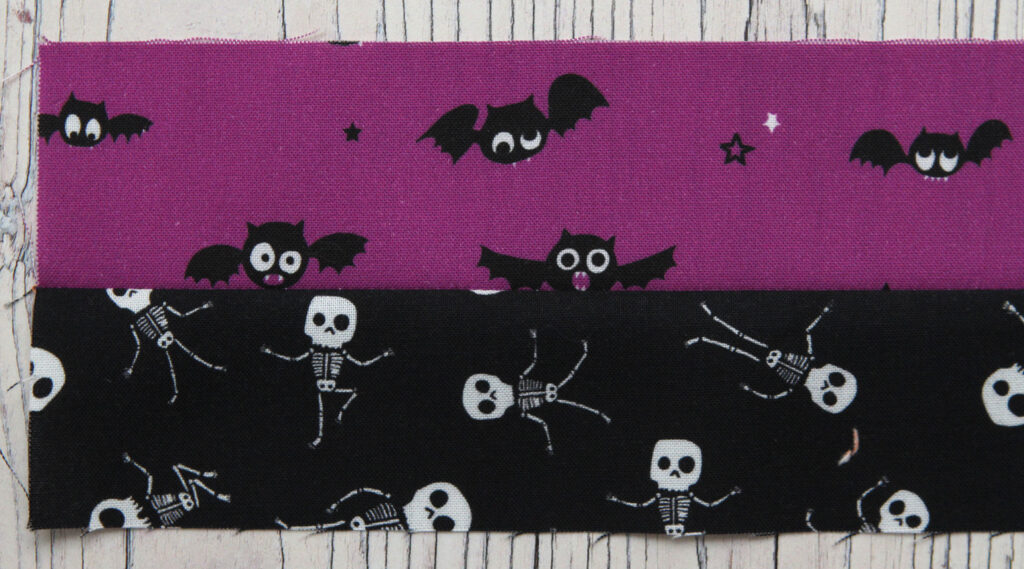
Finally, with RS together, sew a No. 1/No. 2 piece to a No. 3/No. 4 piece along the long side of the fabric (the No.2 and No.3 pieces should end up next to each other). It is best to sew these pieces in the opposite direction from your first strips. You will be pressing your seams to the dark side again. My seams are pressed towards the purple fabric:
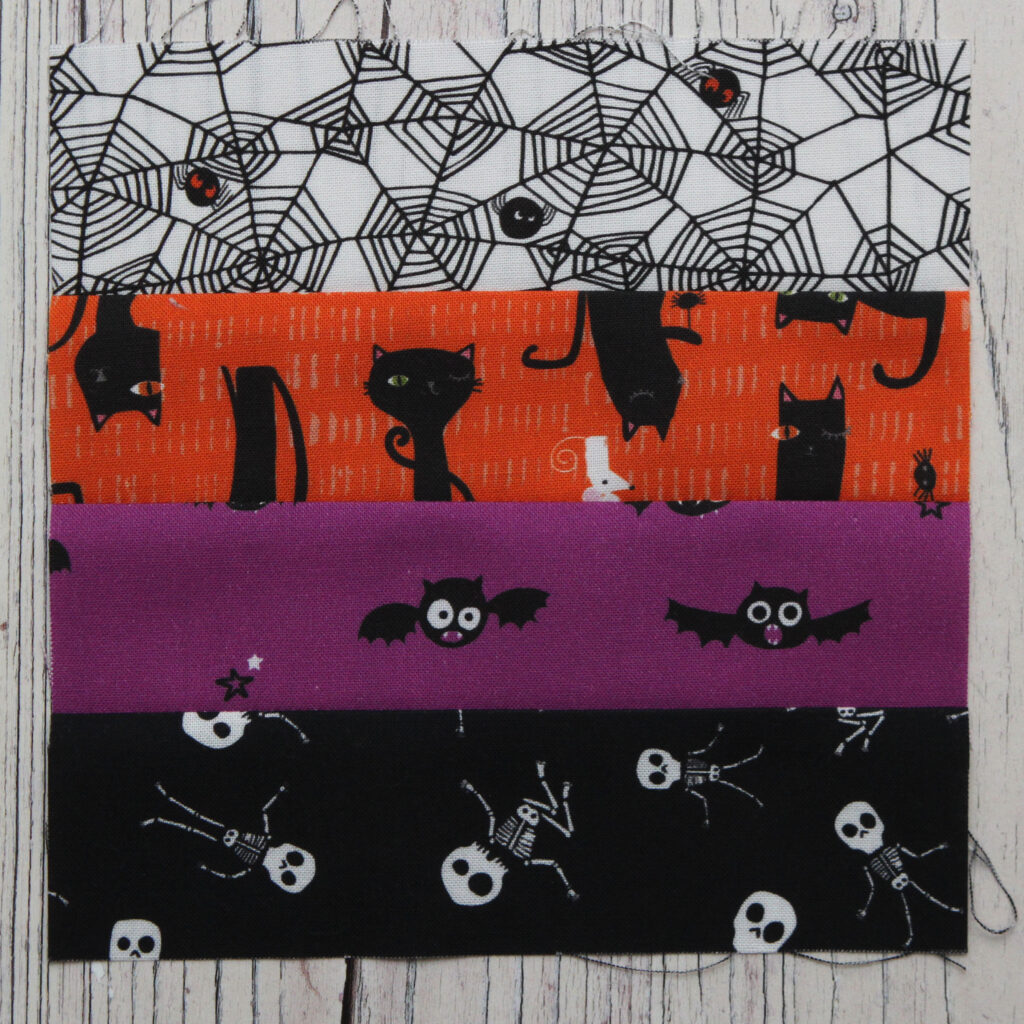
Repeat this step with all your other No. 1/No. 2 and No. 3/No. 4 strips so that you have nine pieces for your quilt (or five pieces for your cushion) that look like this:
Cutting the Rail Fence Blocks
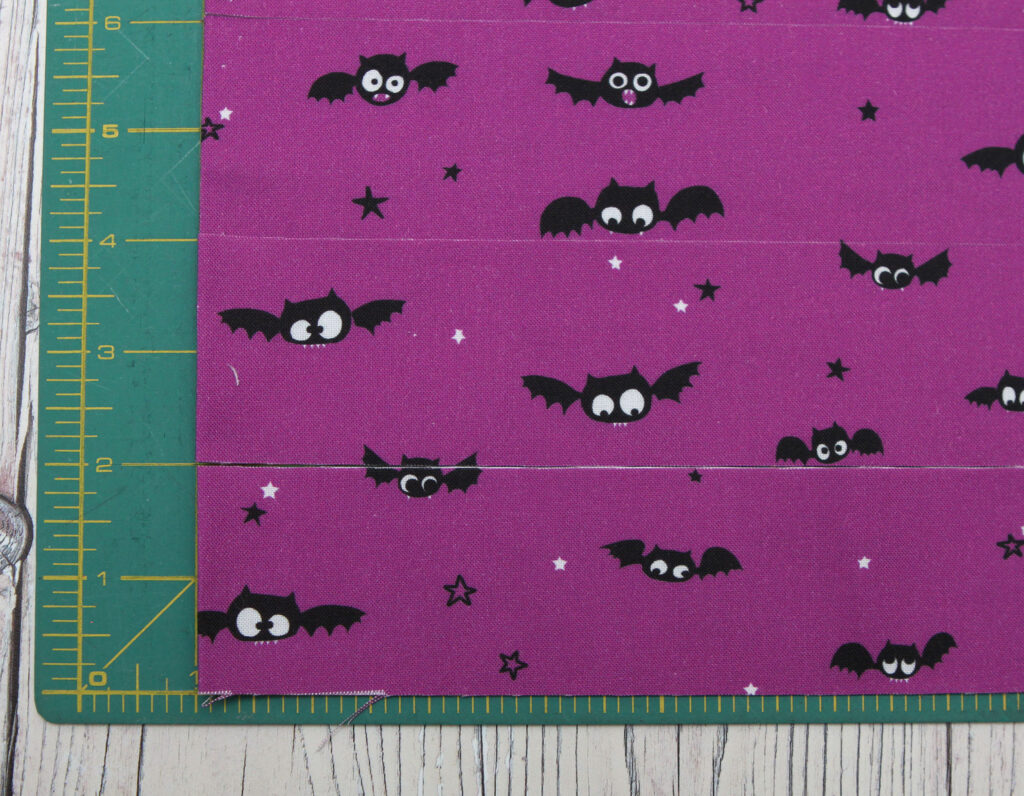
Measure along the short side of these joined strips. The green arrow below shows you where you should be measuring:
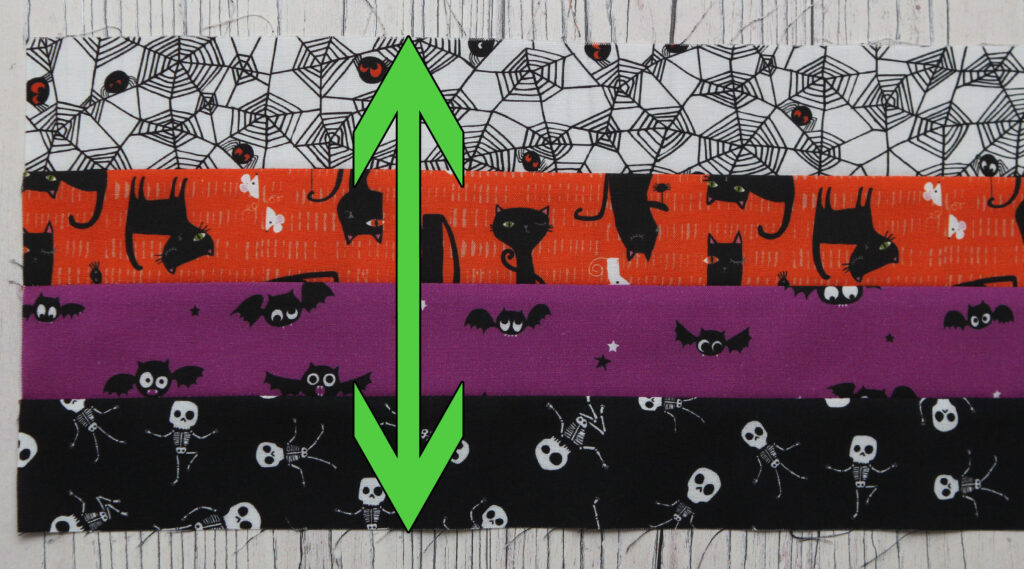
This length should be:
- approx. 6.5 inches for Quilt Blocks
- approx. 3.5 inches for Cushion Blocks
Write down your actual measurement!
My quilt strips measured 6.25 inches and were slightly under the size suggested. If your strips are slightly larger or smaller than the measurements quoted above, that is okay, as not all sewing machines sew at exactly a quarter inch even when using the quarter inch foot.
Using your actual measurement from above, cut down through these joined strips to make squares. You will be cutting squares of approx. 6.5 inches for a Quilt Block (or approx. 3.5 inches for a Cushion Block) along each side, but you must use your actual measurement or your blocks will not be square.
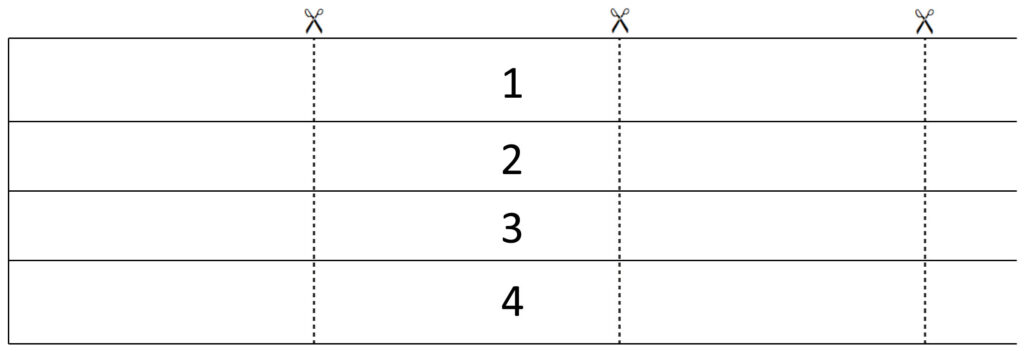
I cut down through my strips at 6.25″ to give me 6.25″ square sized blocks:
You should be able to cut six blocks from each of your joined strips, giving you:
- 54 Quilt Blocks (you only need 49 for your Quilt Top)
- 30 Cushion Blocks (you only need 25 for your Cushion Top)
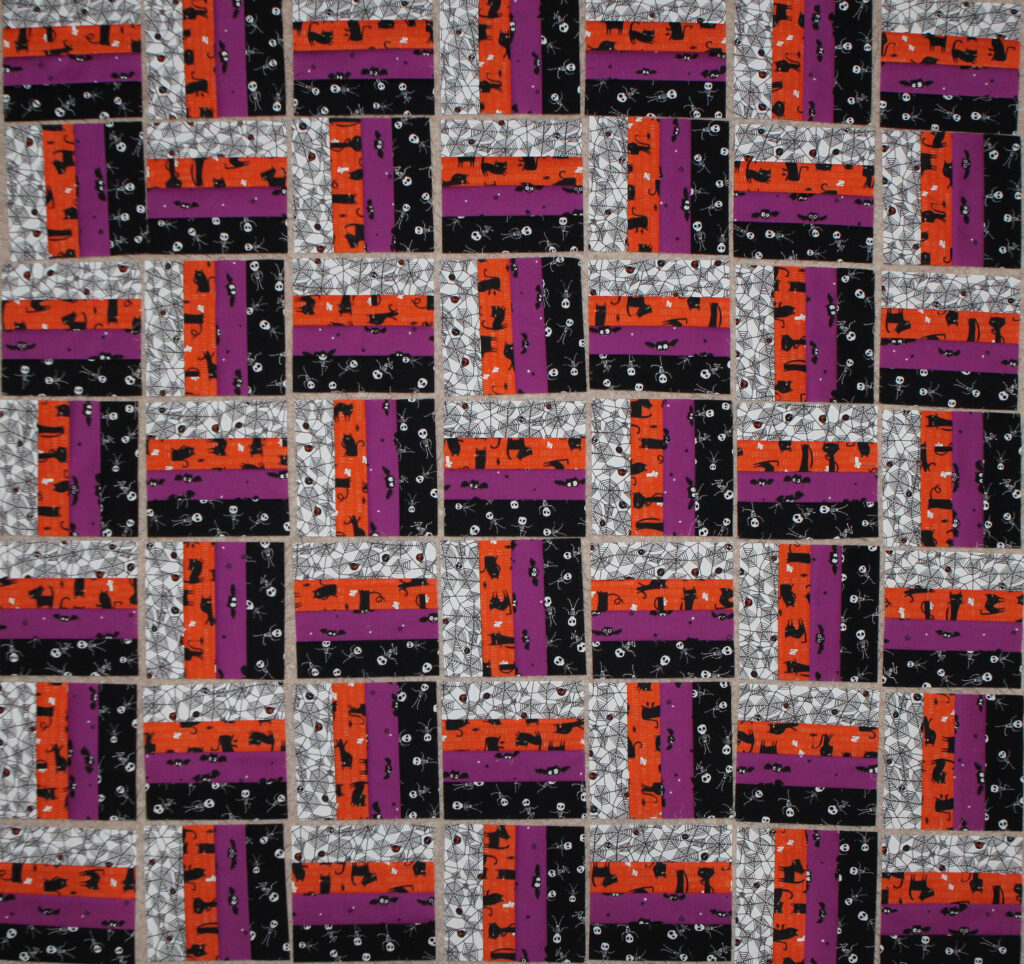
Laying Out the Rail Fence Blocks
Your Rail Fence Quilt will be seven blocks wide by seven blocks high.
For the rest of this tutorial I will be using images created on a computer, as I think it will be easier to see my layouts layouts. If you would like blocks and layouts to colour in yourself, these are provided in my Rail Fence Quilt & Cushion Pattern.
This is my original block next to a computer generated one:

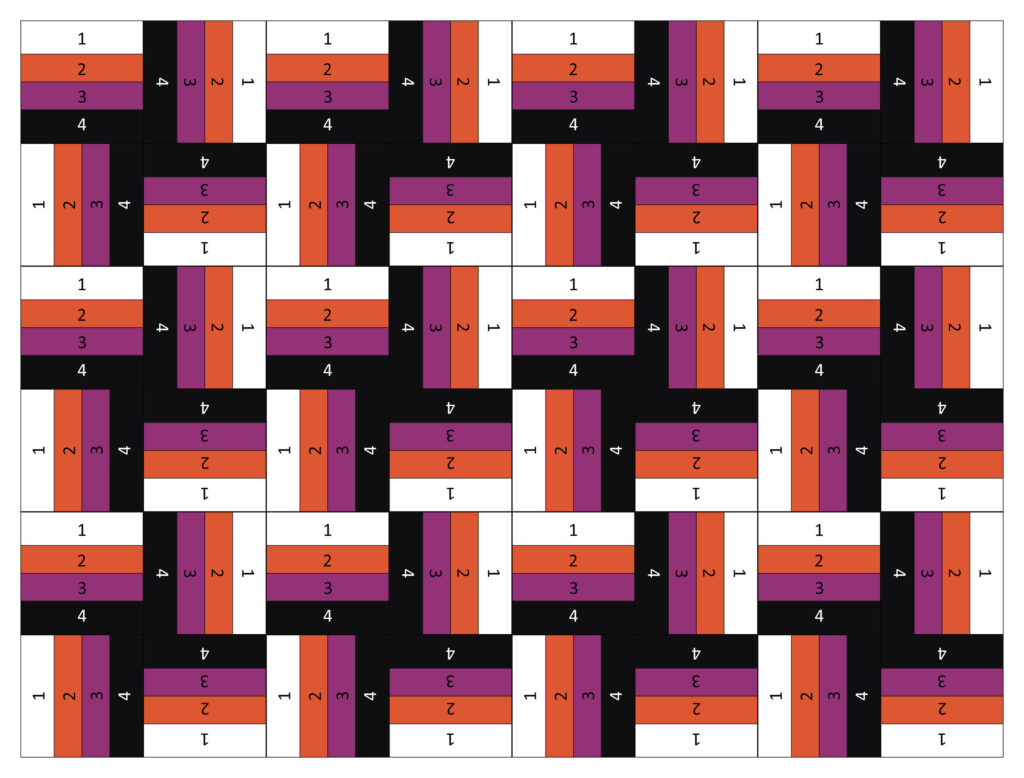
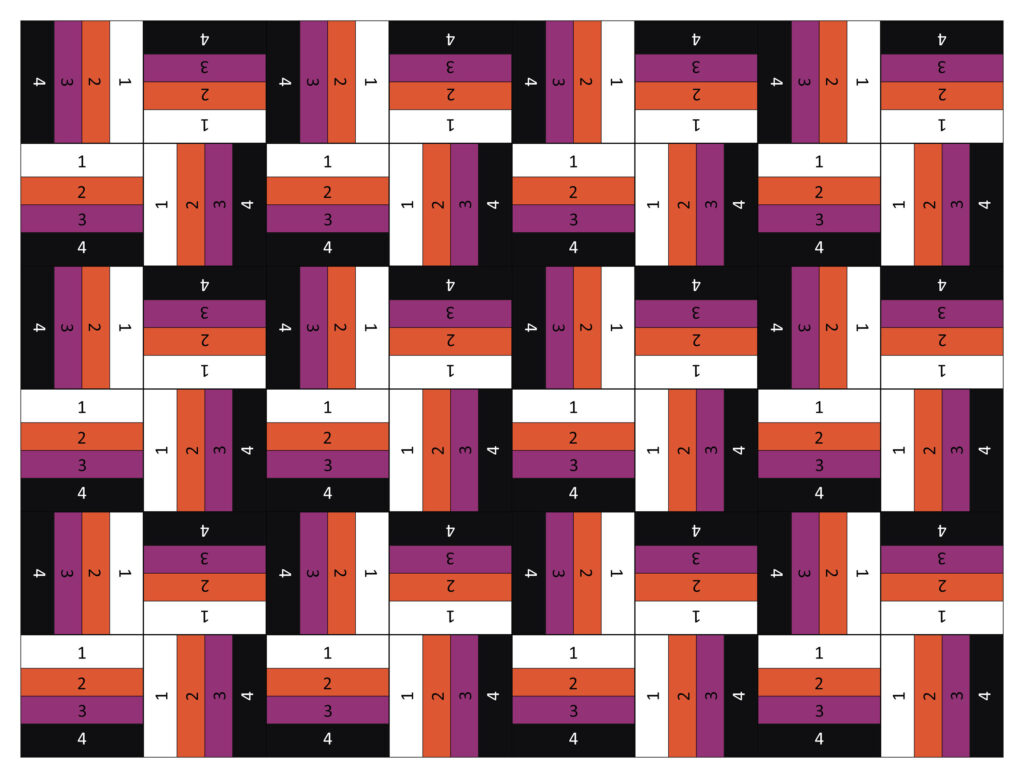
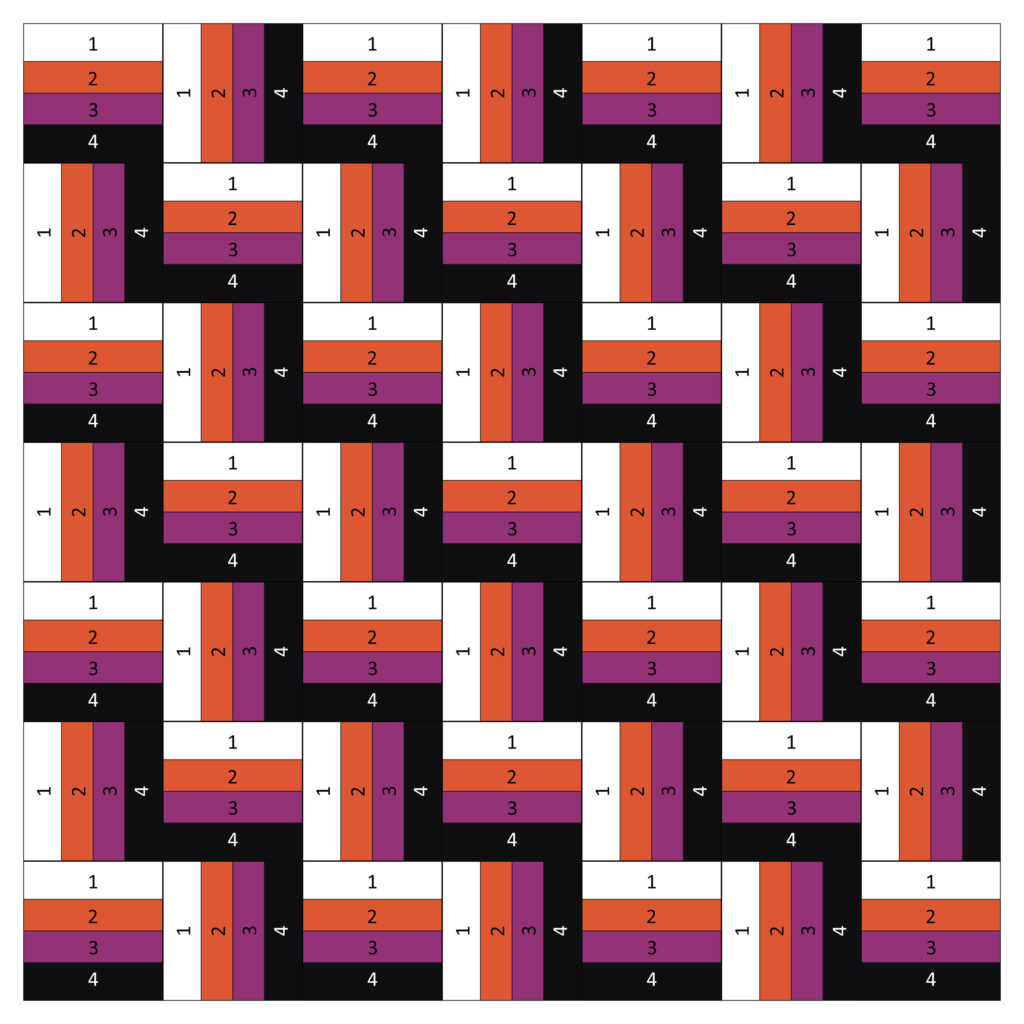
Using the image below as a guide, layout all 49 blocks as shown. (If making a cushion, this will only be five blocks wide by five blocks high and only requires laying out 25 blocks).
If you would like to experiment with different layouts, scroll to the end of this post!
To piece together your quilt top:
- Sew the top row of seven blocks (five blocks if making a cushion) together and label this Row A
- Press all seams in same direction
Repeat those last two steps above with rows 3, 5 & 7, labelling these Rows C, E & G. (If making a cushion, you will repeat with rows 3 & 5, labelling these Rows C & E).
Continue piecing your remaining rows together as follows:
- Sew the 2nd row of seven blocks (five blocks if making a cushion) together and label this Row B
- Press all seams in opposite direction as Row A
Repeat those last two steps above with rows 4 & 6, labelling these Rows D & F. (If making a cushion, you will repeat with row 4, labelling this Row D).
We can now start sewing our rows together to create either our Quilt Top or Cushion Top:
- Sew Row B onto the bottom of Row A, matching the seams
- Sew Row D onto the bottom of Row C, matching the seams
- Sew Row F onto the bottom of Row E, matching the seams (not required if making a cushion)
- Press seams to one side.
We will now continue sewing our rows together to complete our Quilt Top or Cushion Top.
- Sew Rows C/D onto the bottom of Rows A/B, matching the seams
- Sew Rows E/F onto the bottom of Rows C/D, matching the seams (if making a cushion only sew Row F to bottom of Rows C/D)
- Sew Row G onto the bottom of Rows E/F, again matching the seams (not required if making a cushion)
- Press seams to one side.
Your Quilt Top or Cushion Top is now complete!
- Measure your Quilt Top – it should be approx. 42” square
- Measure your Cushion Top – it should be approx. 15” square
Layering Up and Quilting
You are now ready to layer up your Quilt/Cushion Top and start quilting. If you know how to do this carry on with this stage,but if you are unsure how to do this there is a Layering Up and Quilting Tutorial on my YouYube Channel. I will talk more about this on my next vlog episode (to be published on YouTube on Monday 12th October 2020).
Prepare Binding
In the meantime, you can prepare your binding fabric if you wish.
Cut Binding Fabric as follows for a quilt:
- Cut five 2.5” strips along the WOF
- Join these five strips together (along short sides) to give you one very long strip of fabric
Cut Binding Fabric as follows for a cushion:
- Cut two 2.5” strips along the WOF (or five 2.5” strips from a FQ)
- Join these strips together (along short sides) to give you one long strip of fabric
Now continue for both Quilt and Cushion Binding as follows:
- Press seams open – this is different from your other seams
- Fold fabric in half lengthways and press
- You now have one long strip of fabric which is 1.25” high, which you will put aside for binding your quilt or cushion later on
You can add your binding once you having quilted the three layers. A Binding Tutorial can be found on my YouTube Channel.
Alternative Layouts for the Rail Fence Blocks
The two layouts below only require using 48 blocks. Both layouts are 8 blocks wide by 6 blocks high making your finished quilt 48″ wide by 36″ high. Sometimes it’s worth experimenting with your block layout as you may find something much more appealing.