Over the 2019/2020 session, we were making the Rainbow Sampler Quilt at class:

Unfortunately our last class had to be postponed due to the Covid-19 pandemic. I hope that you are all safe and in good health. To help with the finishing of your quilts, I have put together this photo tutorial to assist you in adding your sashing and borders.
Throughout this tutorial, I will show you how I prefer to trim blocks and then how I put my quilt top together. There is more than one way to do each stage and there is no right or wrong way when you are working on your own quilts at home. Everyone has their preferred way to do things – I think what I am trying to say is that there are no ‘quilting police’ here! You should have fun and enjoy each stage of the patchwork and quilting process.
The first step is to trim all your blocks. I know some quilters will use a square ruler to square up their blocks, but I prefer to trim each side individually to make sure that I do not lose any of my points. If your trimmed blocks aren’t perfectly square, that is okay; your blocks are made of fabric and it can be slightly manipulated into place.
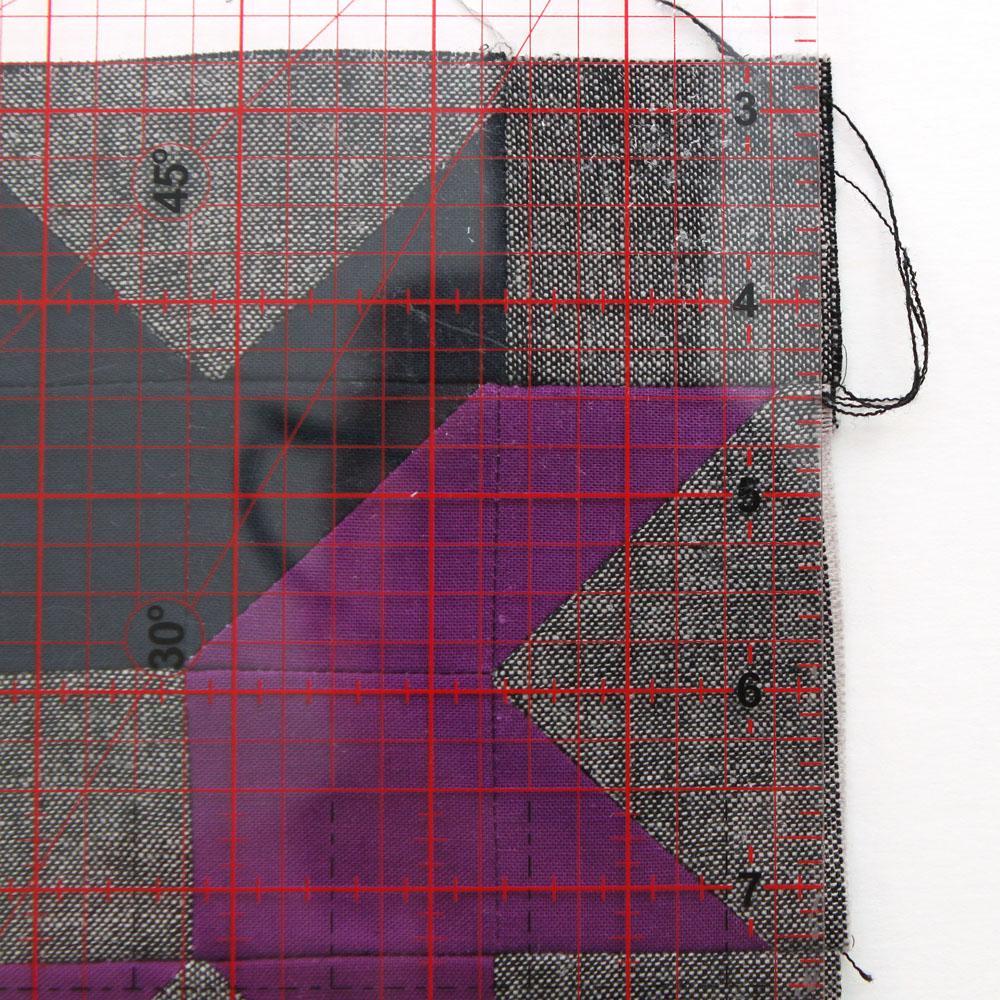
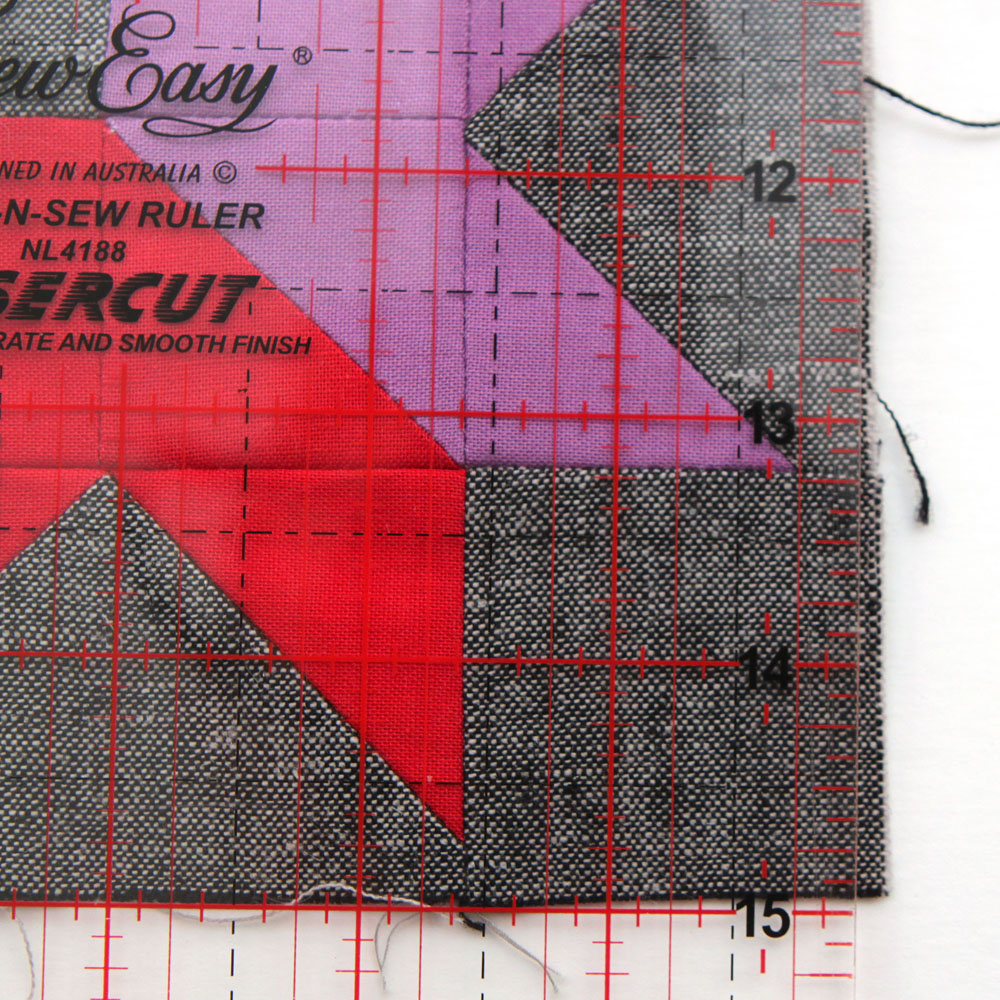
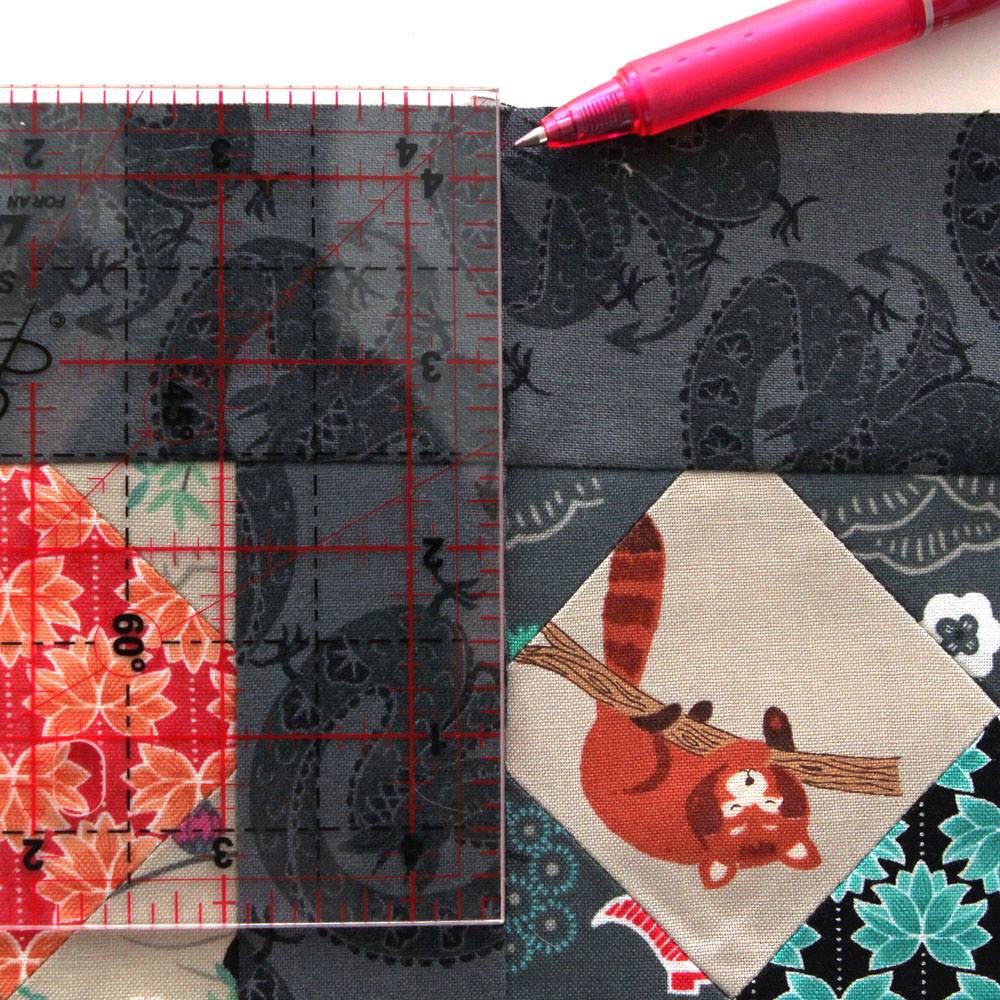
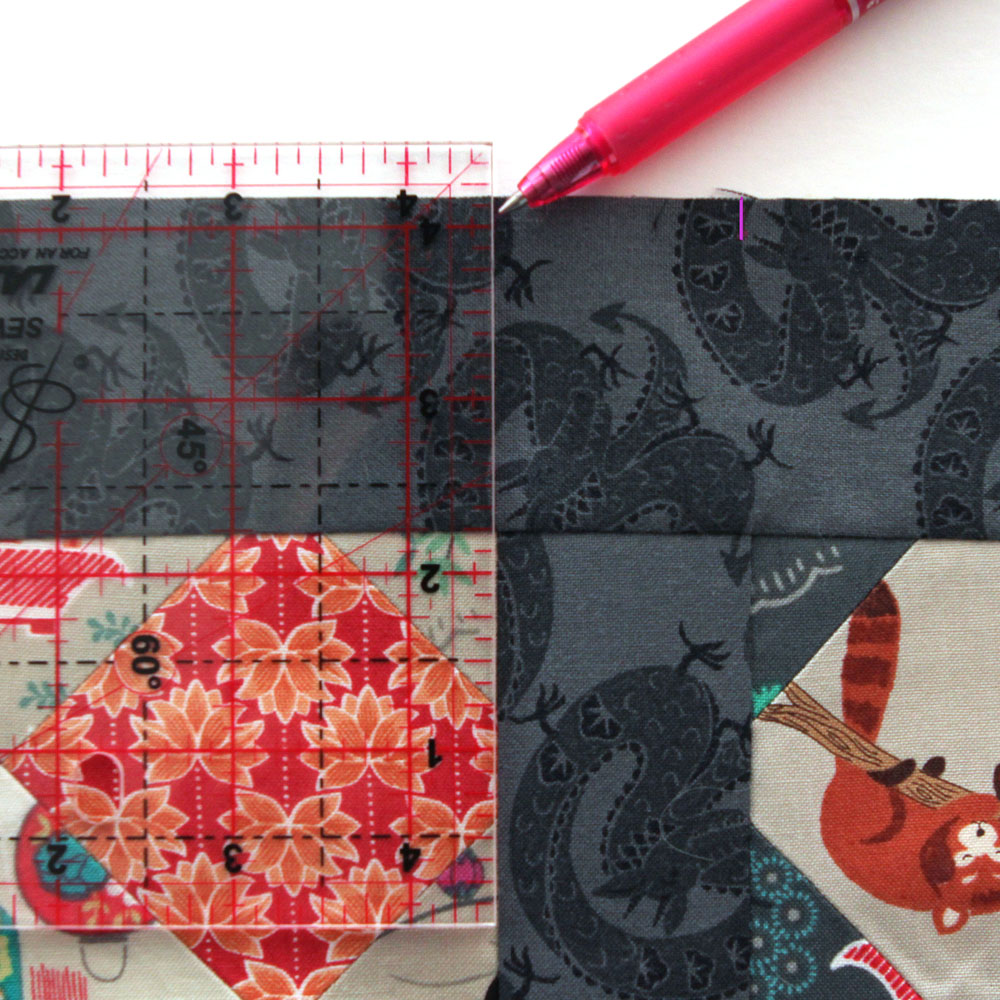
To trim my blocks, I place a ruler along the edge of my block, lining the 1/4″ line along the edge of the points on the block:
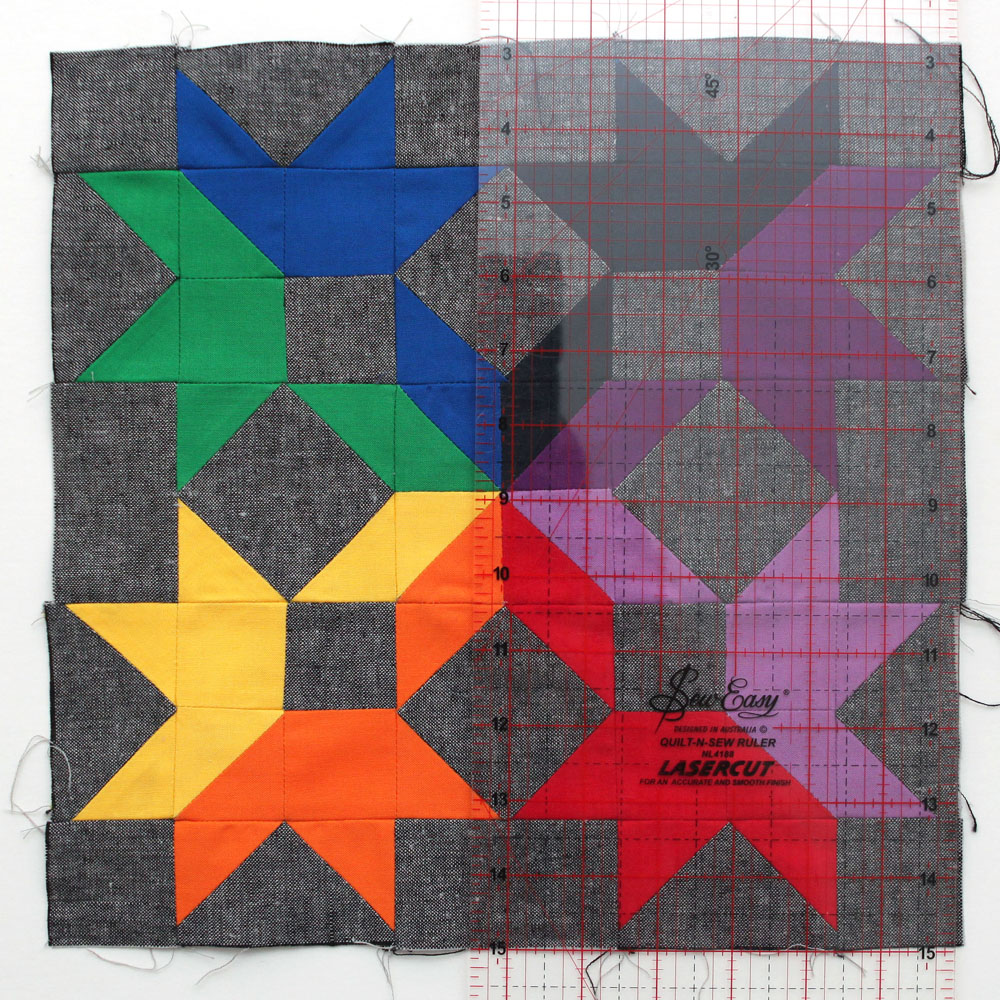
You don’t have this block in your Sampler Quilt – this was a test block that I rejected when I was putting my quilt together last year, but I am using it here for demonstration purposes. The images below show you more detail of where I place my ruler – the 1/4″ line on my ruler is placed along my points. I then trim along the edge with my rotary cutter taking off the excess fabric. You don’t want to chop off your points, so make sure that you give yourself 1/4″, as this will be the seam allowance that you will use later on when adding your sashing strips. If you look just above the 5″ mark on my ruler, you will see that I have less than 1/4″ there – that is fine, I will have slightly less in my seam allowance here and I will have a scanter seam at this point when I sew on my sashing. Don’t move your ruler to accommodate this – you can work with slightly less in your seam allowance here.
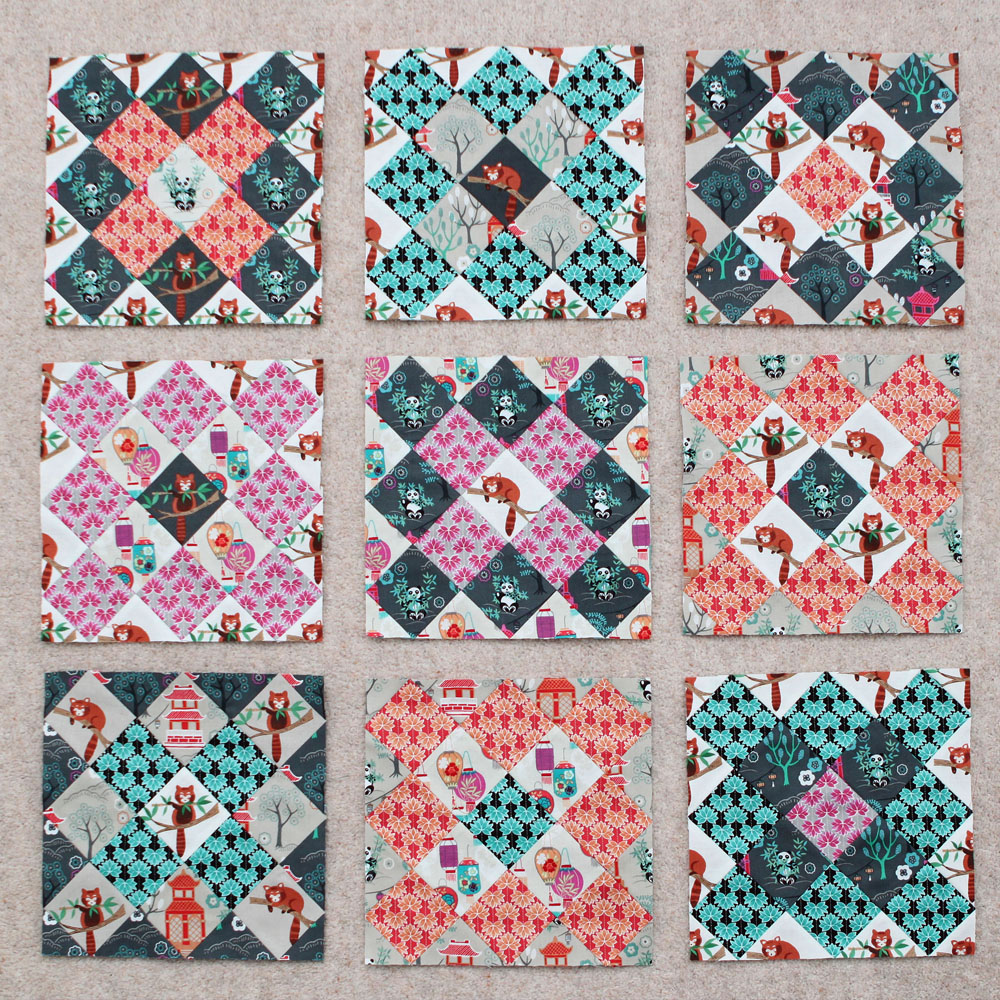
From here on, I will be demonstrating with different blocks. My Rainbow Sampler Quilt is all put together and I didn’t want to unpick it to make this tutorial. I will be using these panda blocks that I made with leftover fabric after making five Cathedral Windows Cushions:
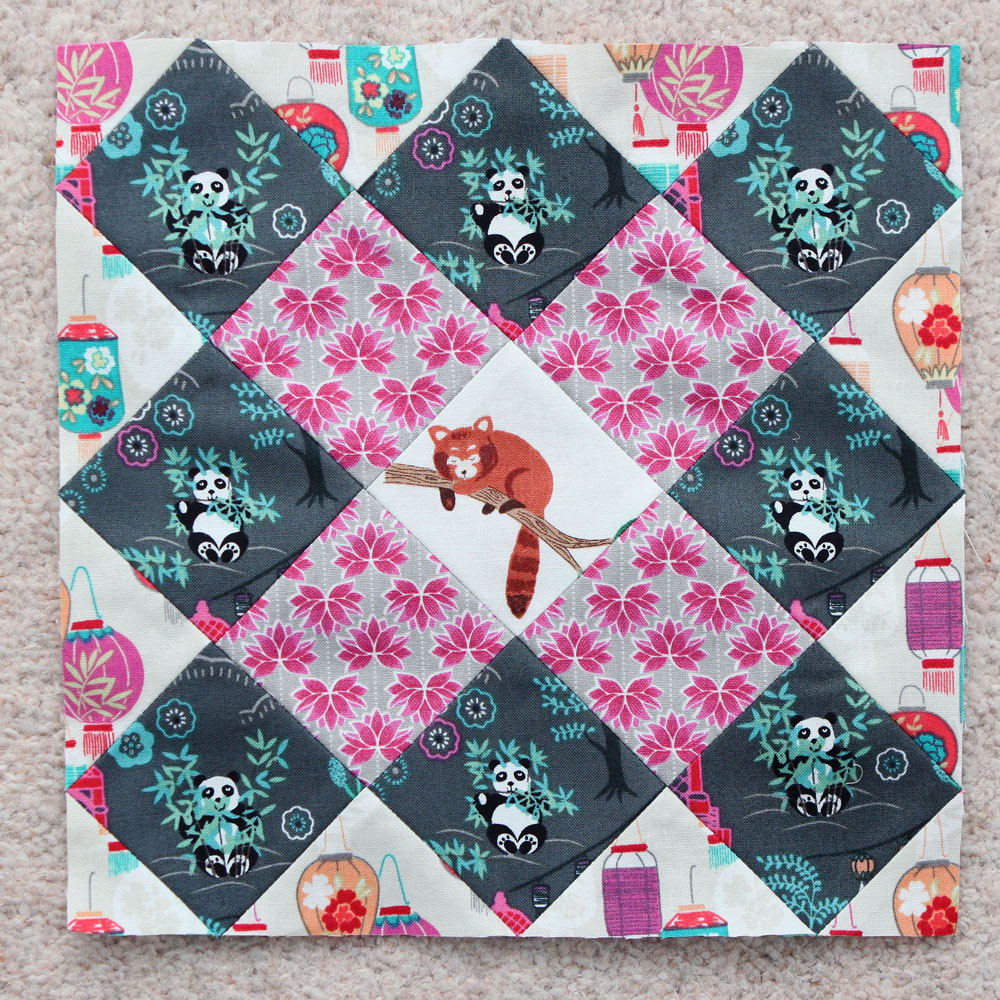
After trimming, you need to measure your blocks and check their size. The blocks should finish at approx. 12.5 ” square, but my blocks finished at 12.25″. My blocks always finish at a slightly smaller size than suggested – my 1/4″ foot doesn’t sew at exactly 1/4″ and the folding of fabric at the seams probably accounts for the smaller block size too.
Write all your block sizes on the layout that I handed out at class – having a visual guide is easier than trying to remember the sizes of all nine blocks. All nine blocks should be the same size approximately. If there are slight differences (an eighth of an inch or so) don’t worry about it – as I said before, fabric can be slightly manipulated and with a bit of ‘jiggery-pokery’ it can be stretched slightly to fit!
Once your blocks have been trimmed and all their measurements have been taken, it is time to lay them all out in the order that they have to be sewn together:
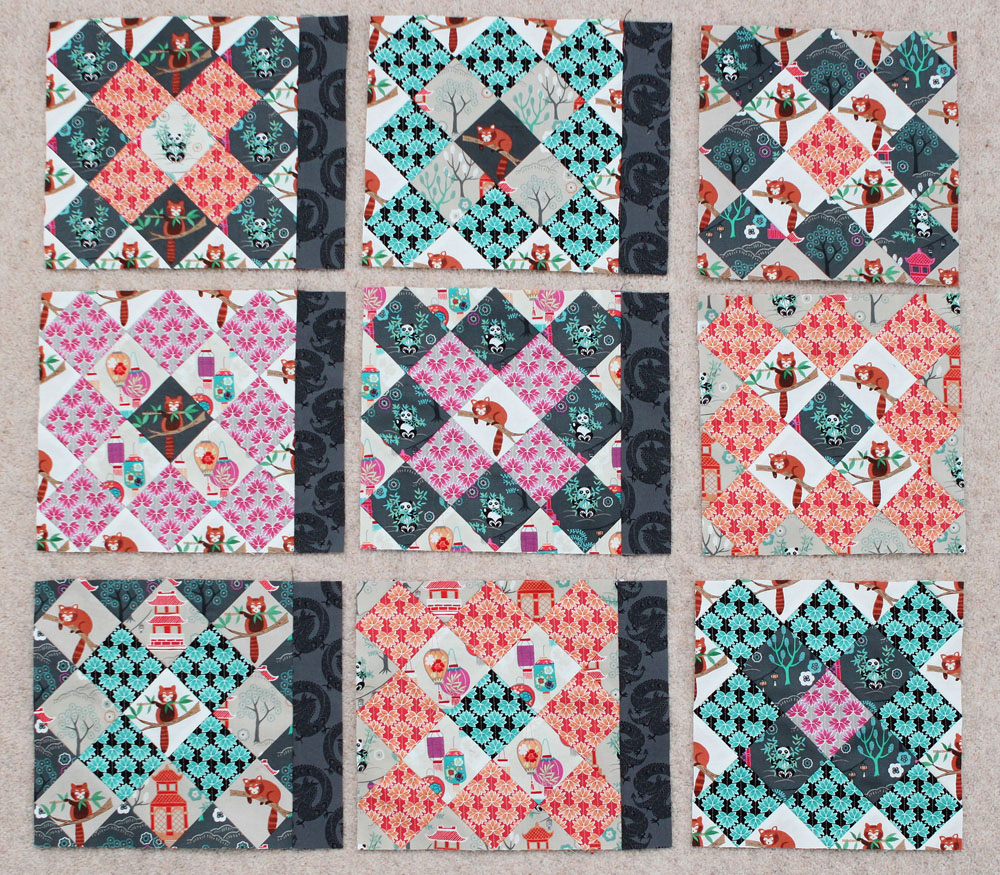
You will already have cut six sashing strips, each measuring 2″ by 12.5″ (or 2″ by height of block, to save you trimming sashing later). You will be sewing one sashing strip to the right hand side of the first two blocks of each row – the last block doesn’t get a sashing strip.
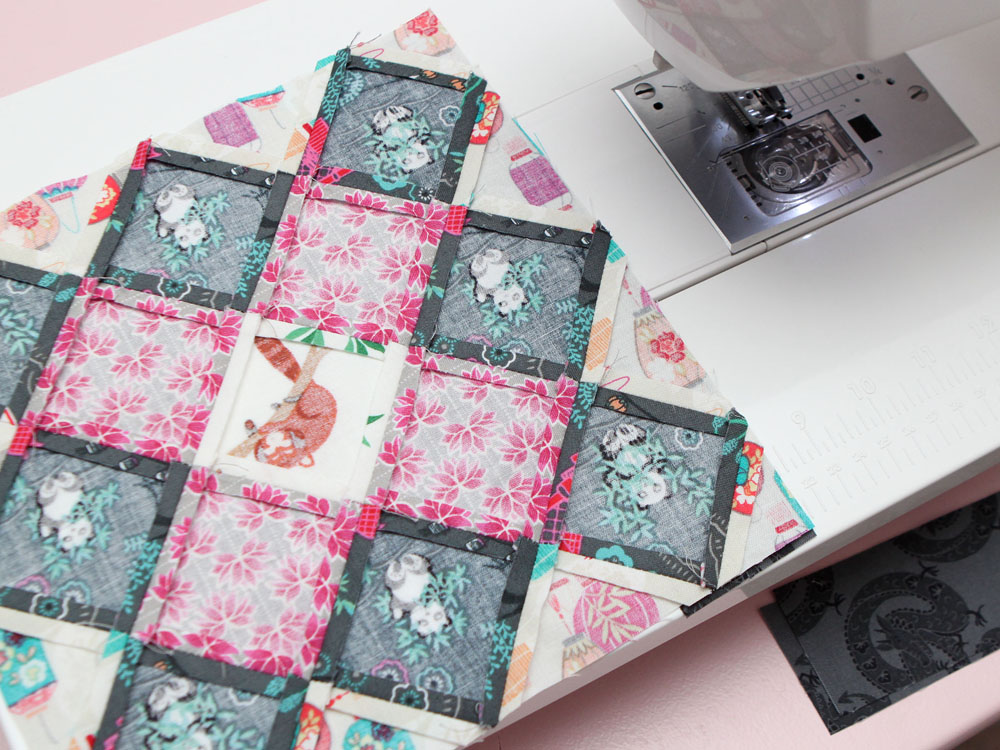
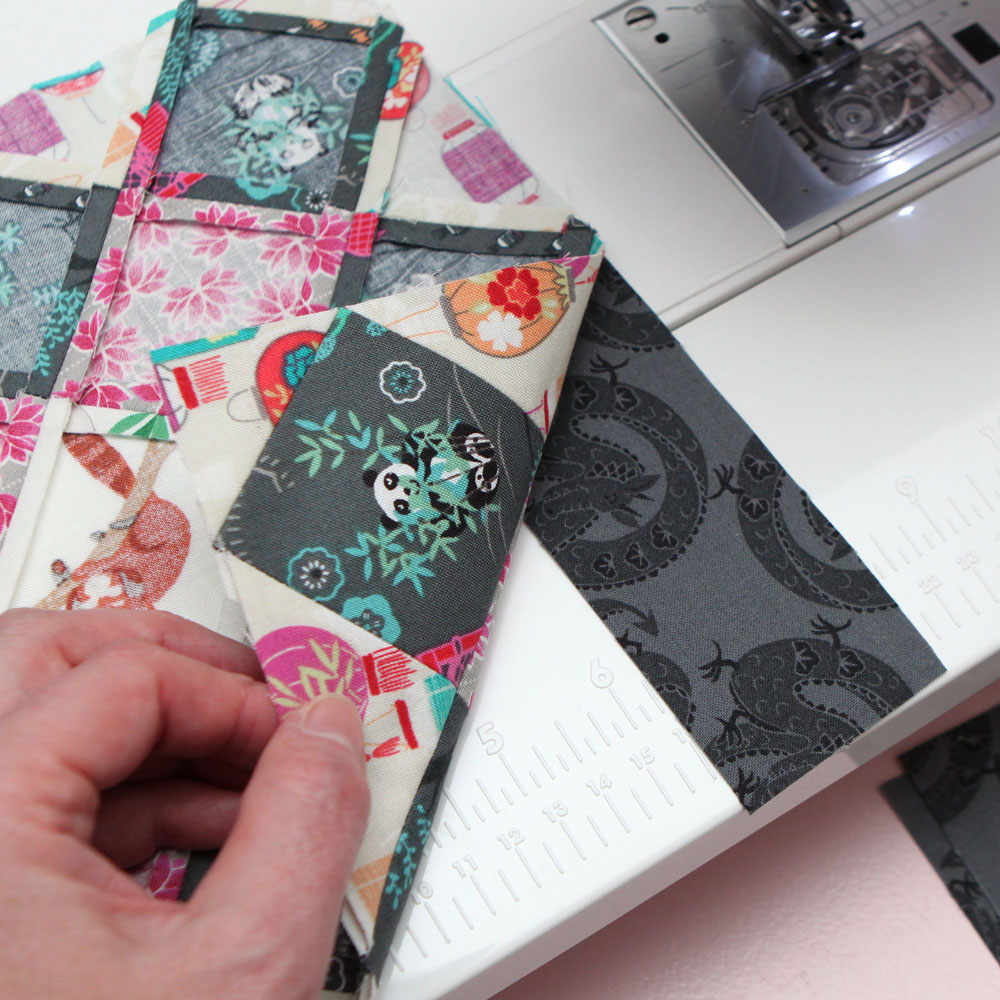
When sewing my sashing onto a block, I lay the block and the piece of sashing next to one another – this is more useful when using fabrics with a directional print as it helps to ensure that all fabrics are facing in the correct direction before sewing. Can you see my phone under my quilting table? I always find that it helps to have a photo of my layout beside my sewing machine to make sure that the blocks are being sewn together in the correct order.
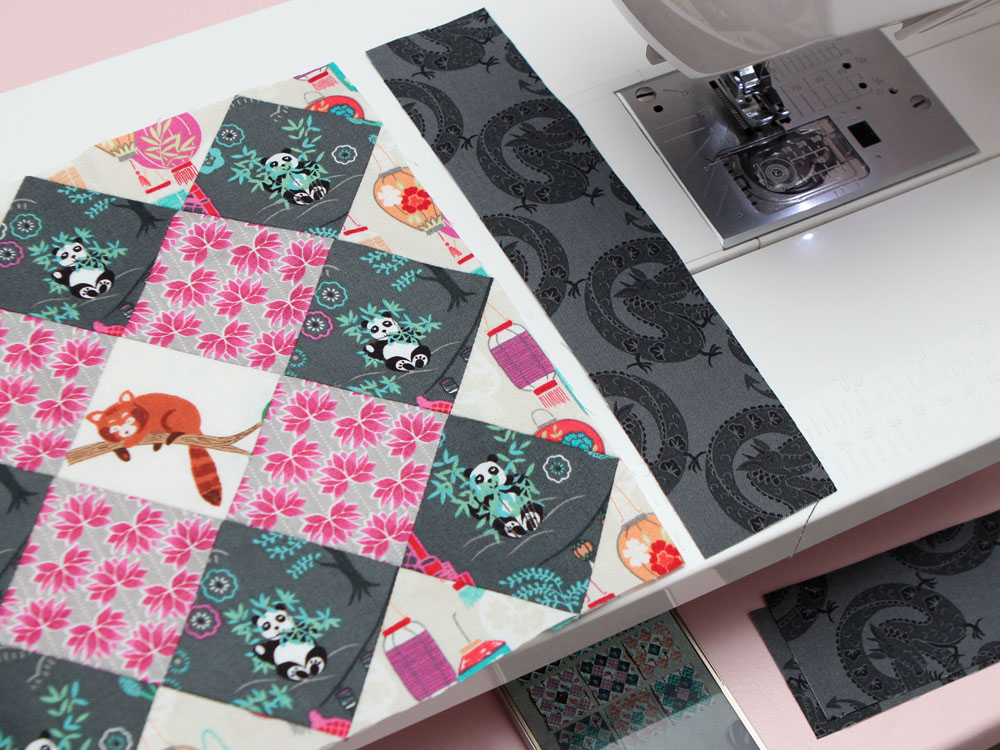
I flip the sashing strip over onto the top of the block and then turn both pieces upside down. If you sew the two pieces together with the wrong side of the block facing up, you will be able to keep an eye on your points and make sure that you aren’t losing them while sewing your 1/4″ seam.
When all six pieces of sashing have been sewn onto their blocks, press the seams towards the sashing and your quilt top will look like this:
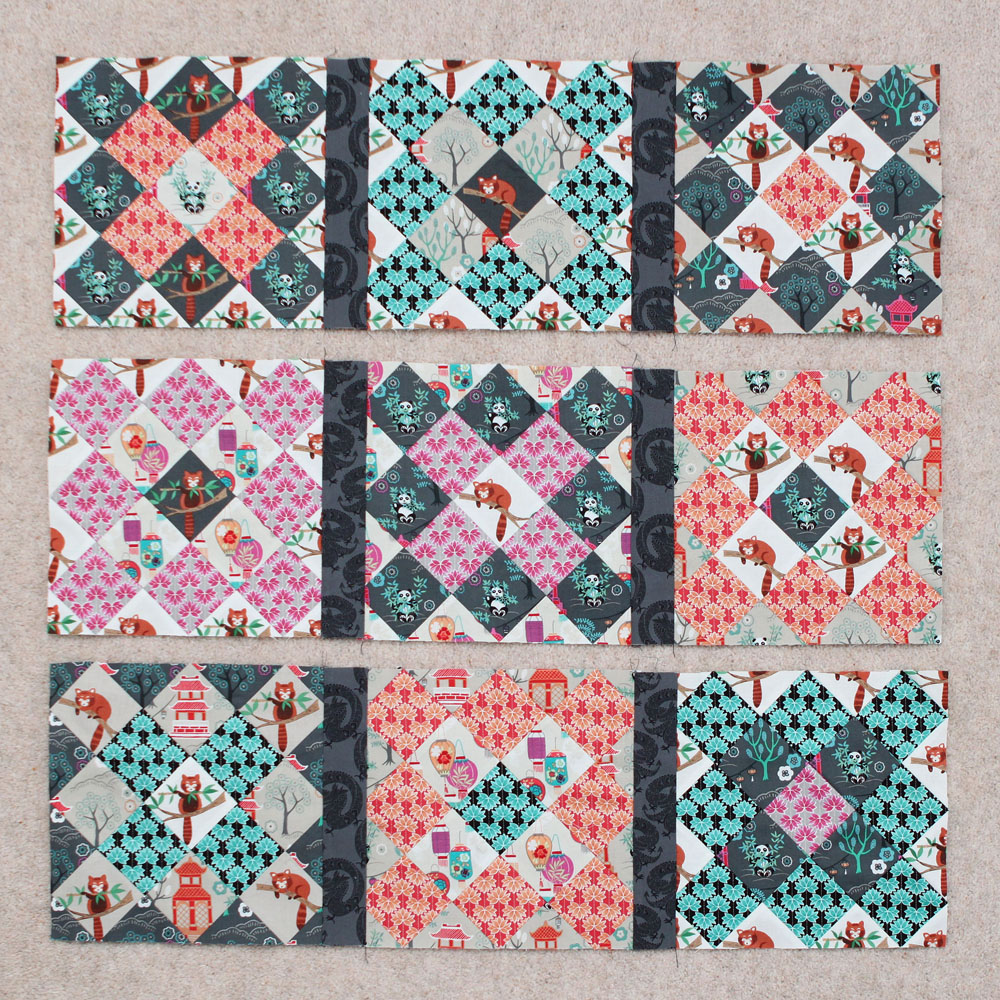
Sew the three blocks in the top row together and then sew the blocks in Rows 2 and 3 together. Again press your seams towards the sashing. Your quilt top should now look like this:
You are now ready to add the two longer sashing strips – these are the two pieces measuring 2″ by WoF (width of fabric). Add a sashing strip to the bottom of Rows 1 & 2 again pressing the seams towards the sashing. Your quilt top now looks like this:
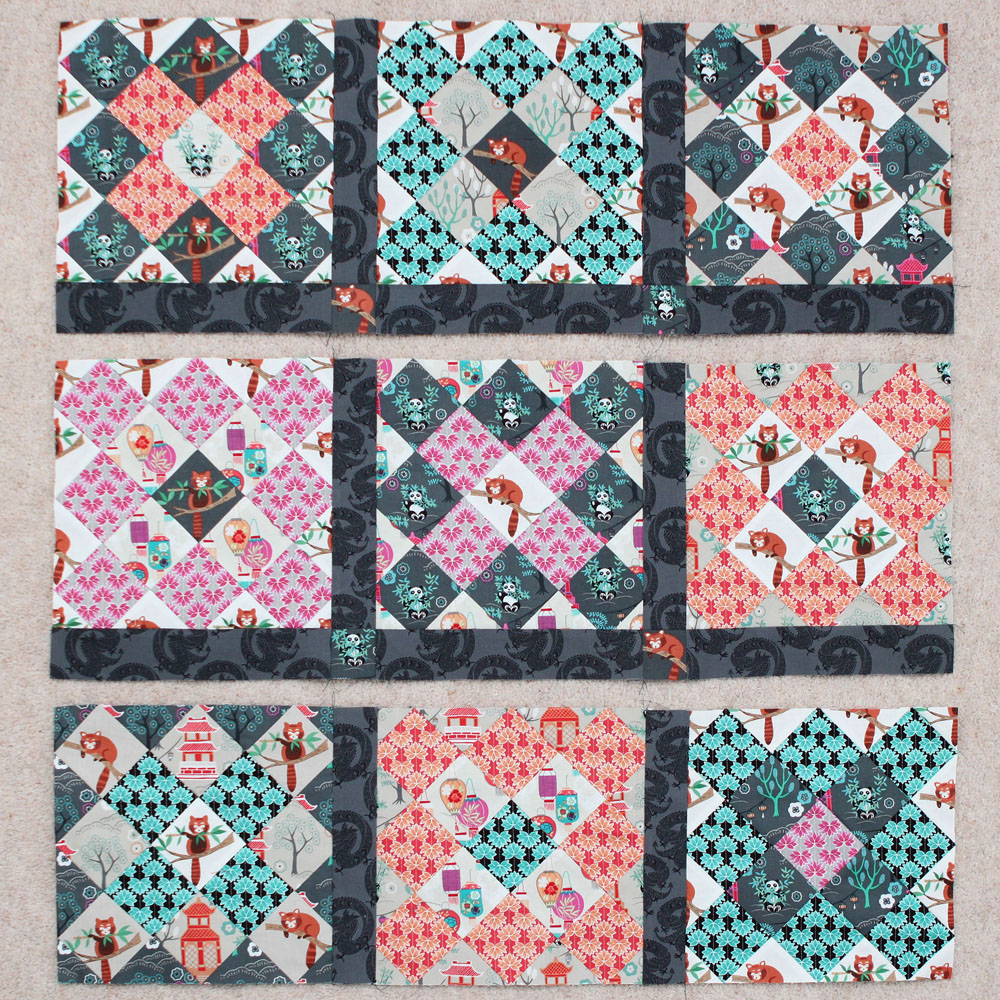
I have little cornerstone blocks in my horizontal sashing pieces – you can add these to your sashing if you like. I am using leftover fabric (taken from two cushion backs that I re-made) so I had to piece these longer sashing strips together.
You are now ready to sew the three rows of your quilt top together, but before you do this I will show you how to make sure that your vertical sashing pieces match up with the row above/below.
I have added another sashing piece to my blocks (no cornerstones) so it looks different from the photo above. This will show you how to mark up your sashing to keep the vertical strips in line with each other. In the photo below, I have two vertical sashing strips:

Place your ruler along the right hand side of Strip 2 and make a mark where the ruler meets the edge of the horizontal sashing, then move the ruler and line it up with the left hand side of Strip 2 and mark the edge of the horizontal sashing:
You will have two marks on your horizontal sashing piece:
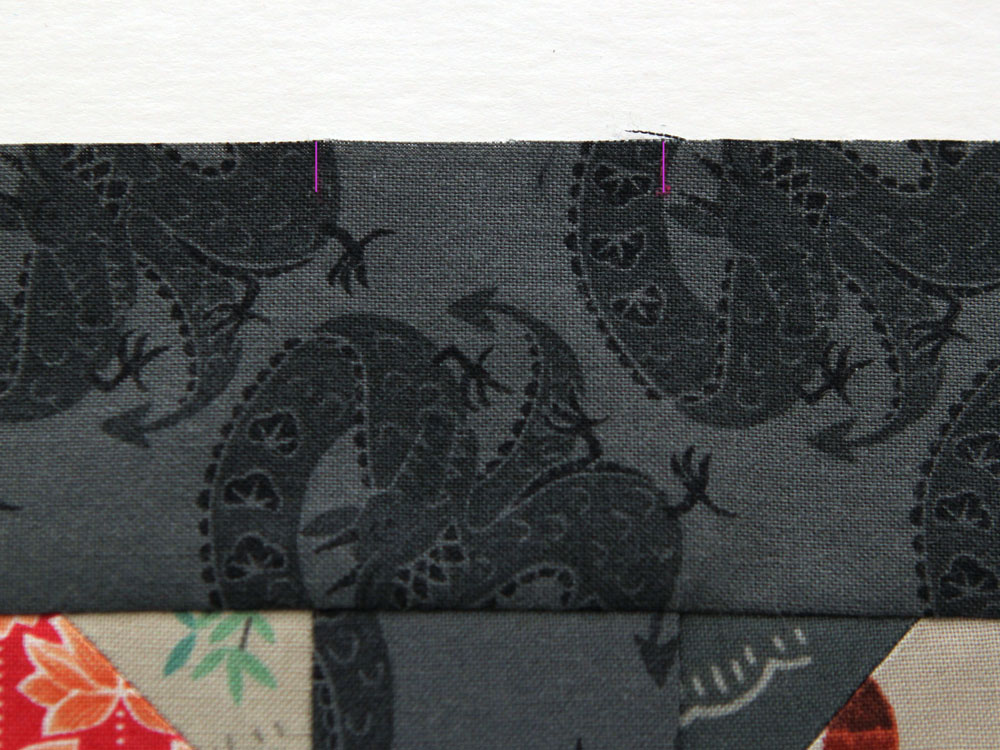
Mark Strip 1 in the same way so that you have four marks along the edge of your horizontal sashing strip. These marks act as a guide and show you where the next row of blocks should be pinned to the horizontal sashing. The edges of the vertical sashing will be pinned at the pink marks:
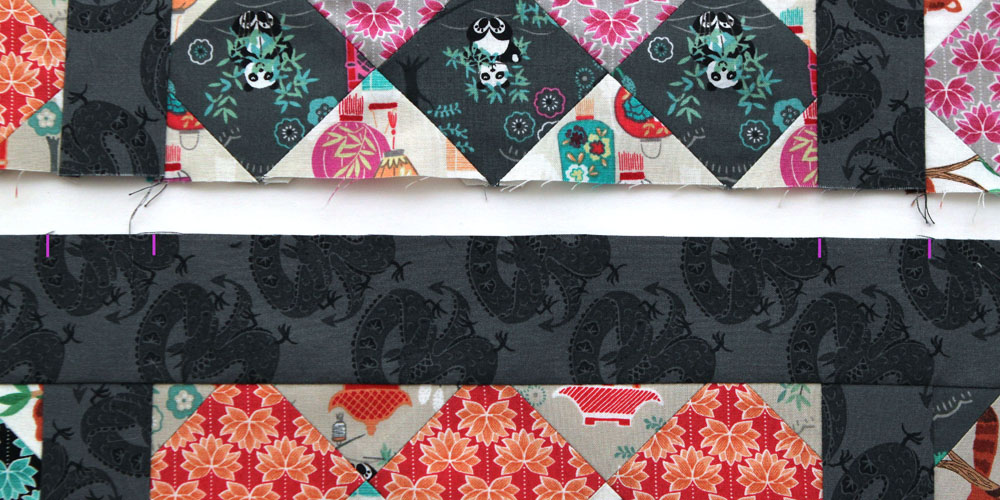
This is how it looks at the back of the blocks before pinning – you need to line up the stitched lines with the pink marks and pin together.
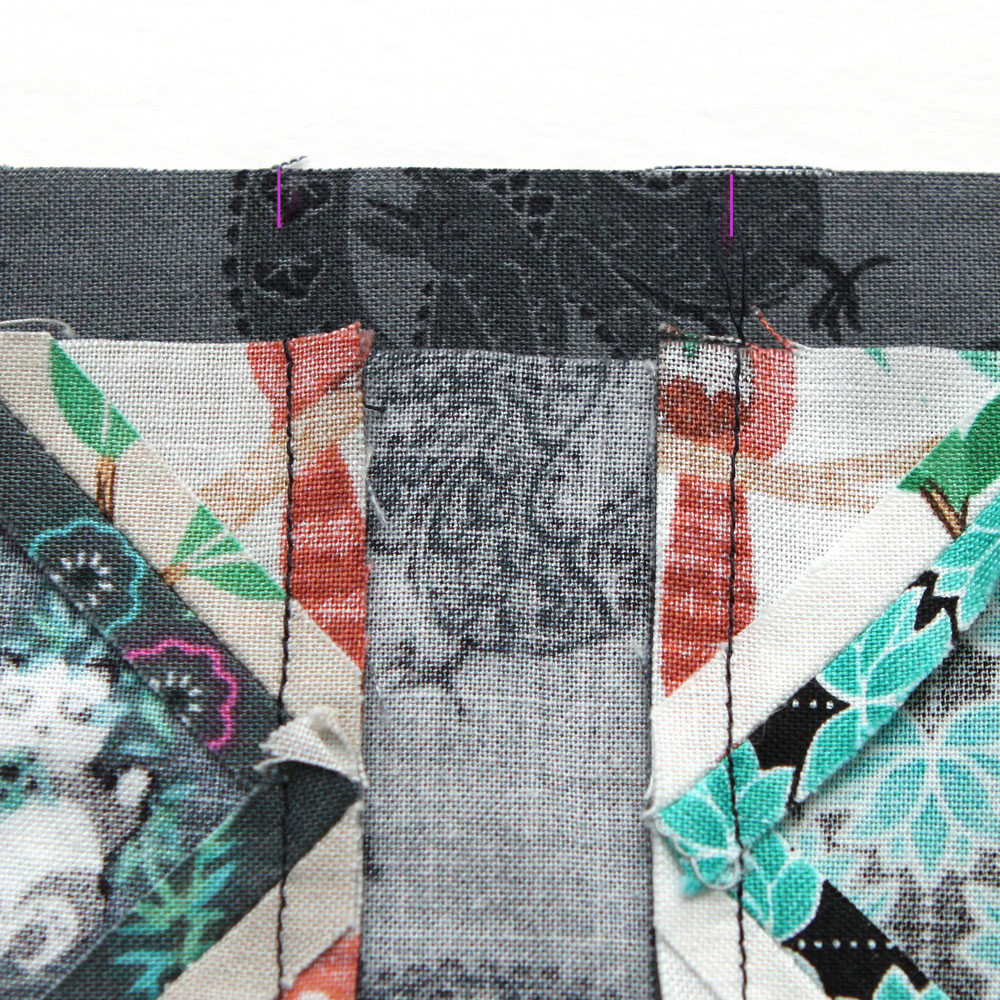
Sew your rows together and press seams toward the sashing. Trim any excess off the edges of the sashing strips. Your sashing pieces have all been added and your quilt top looks like this:
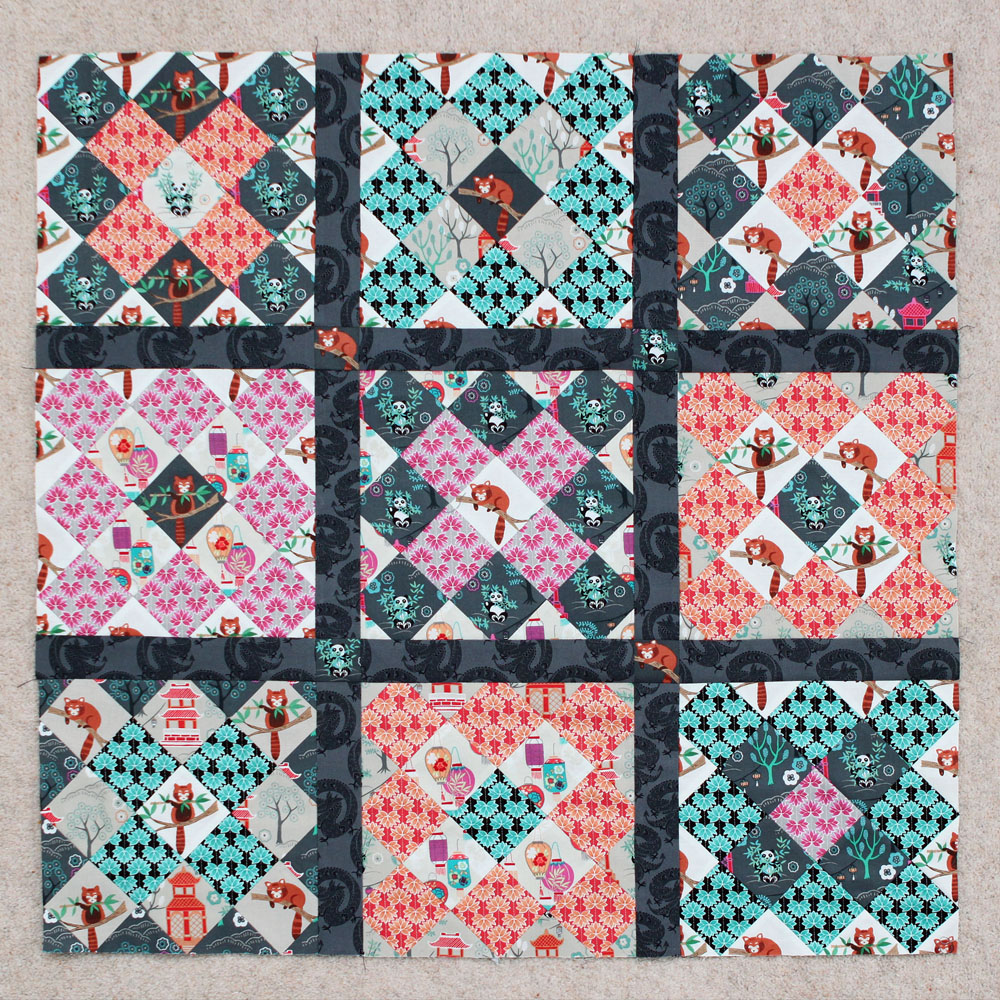
Now it’s time to add the borders.
The four border strips measure 2.5″ by WoF. Sew one border strip to the right hand side of the quilt top and sew another one to the left hand side. Press seams towards the border strip, trim off any excess and your quilt top will look like this:
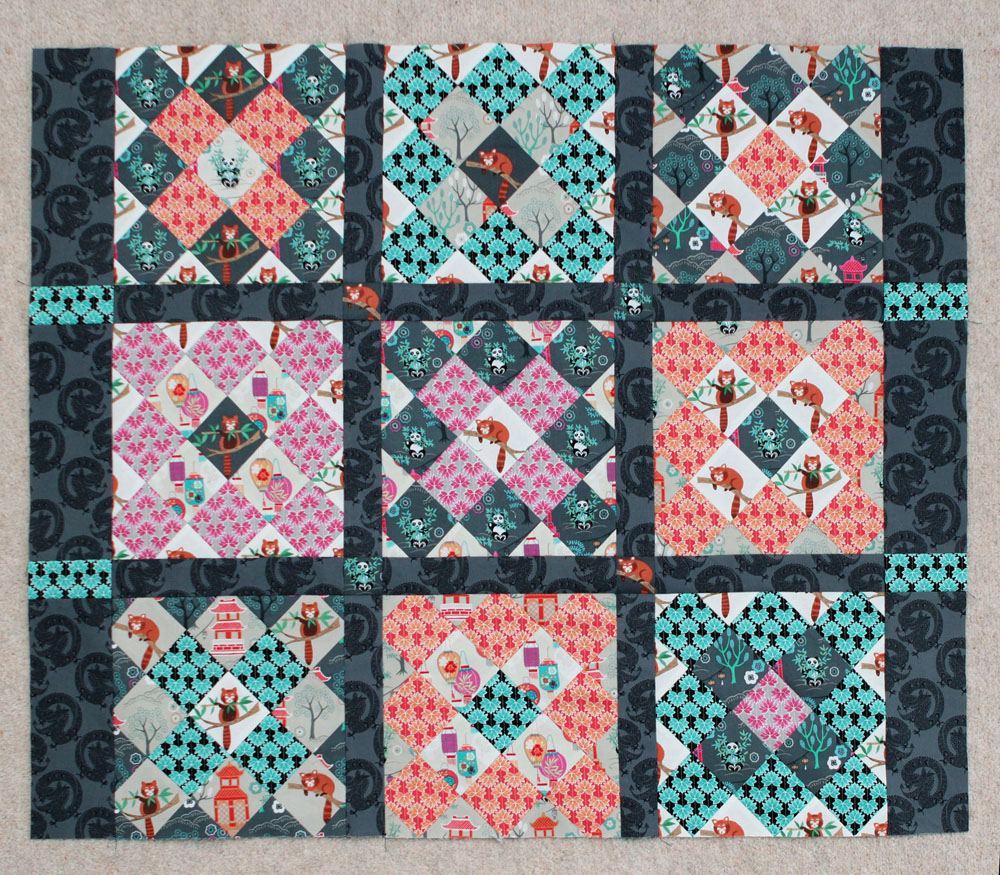
I have cornerstones on my border strips too (again, because I’m using those leftover cushion pieces), but this is something that you can add to your border strips if you like.
Add the last two border strips to your quilt top, one to the top and the other to the bottom. Again press seams towards the border and trim any excess. You now have a completed quilt top:
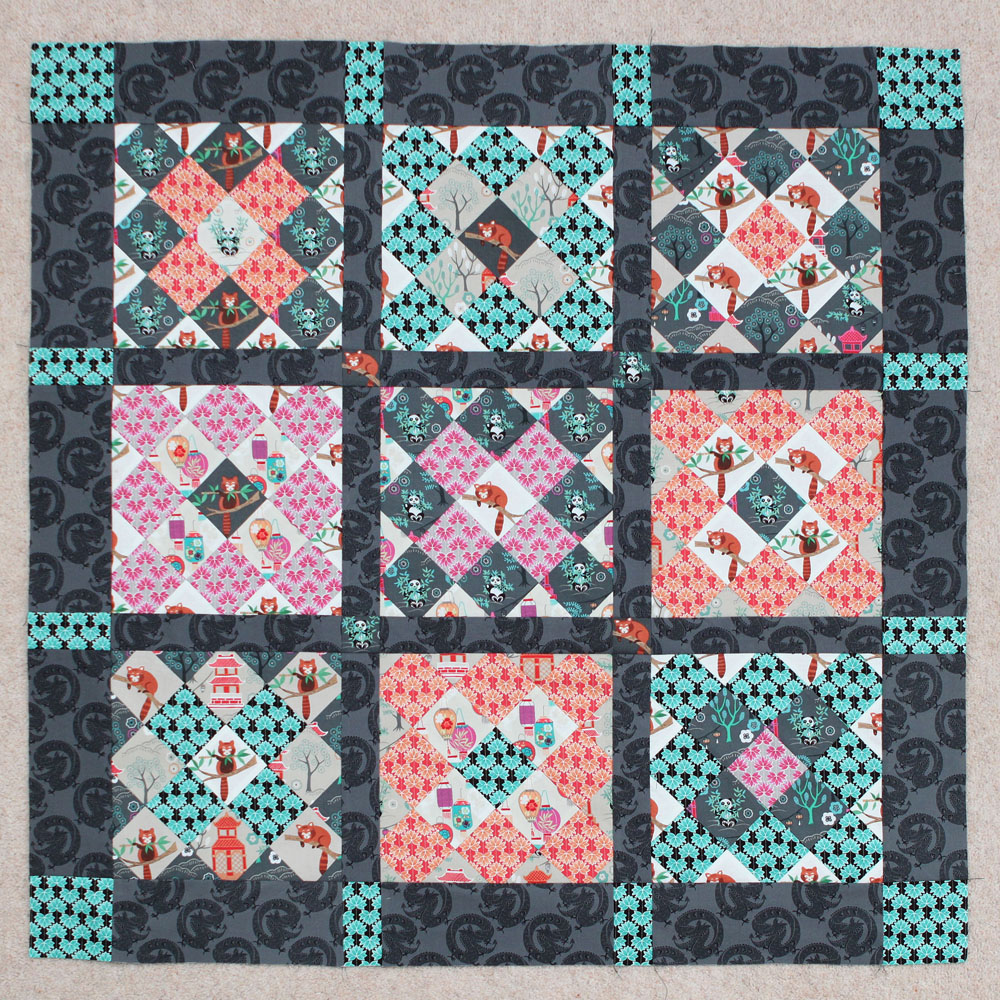
The next stage is layering up and quilting.
My Layering Up and Binding Tutorial can be found on my YouTube Channel.
I also have a Binding Tutorial.

